[postlink]http://testlifepsd.blogspot.com/2010/04/futuristic-collage.html[/postlink]

In this Photoshop tutorial, you will learn several ways of drawing abstract elements and blending images to create an abstract and futuristic photo manipulation. These types of photo manipulations are popular in wallpapers and signatures (AKA sigs) where people combine their interests into a collage that describes themselves.
What you will need
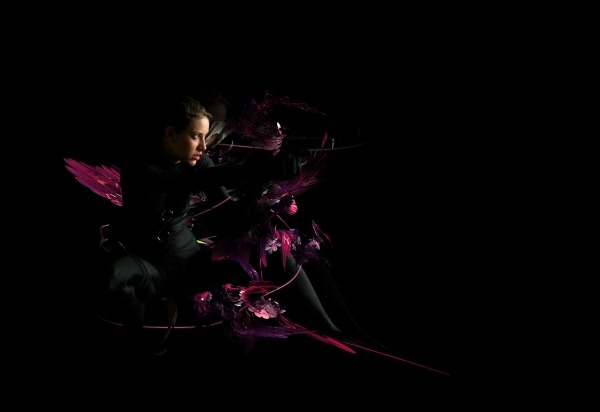
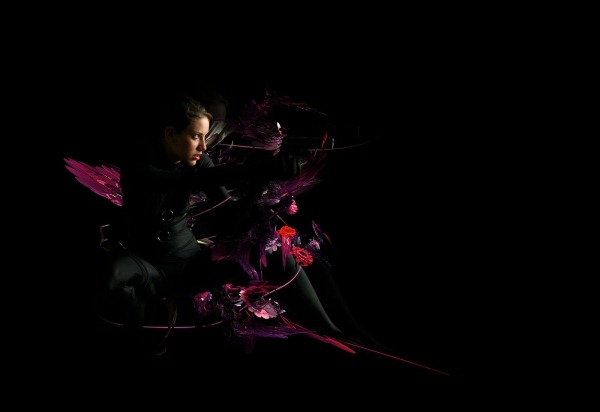
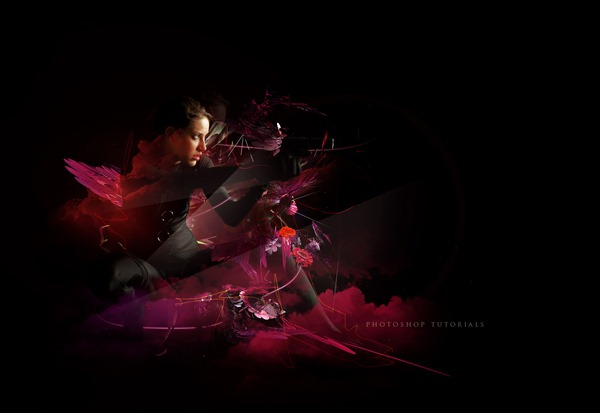
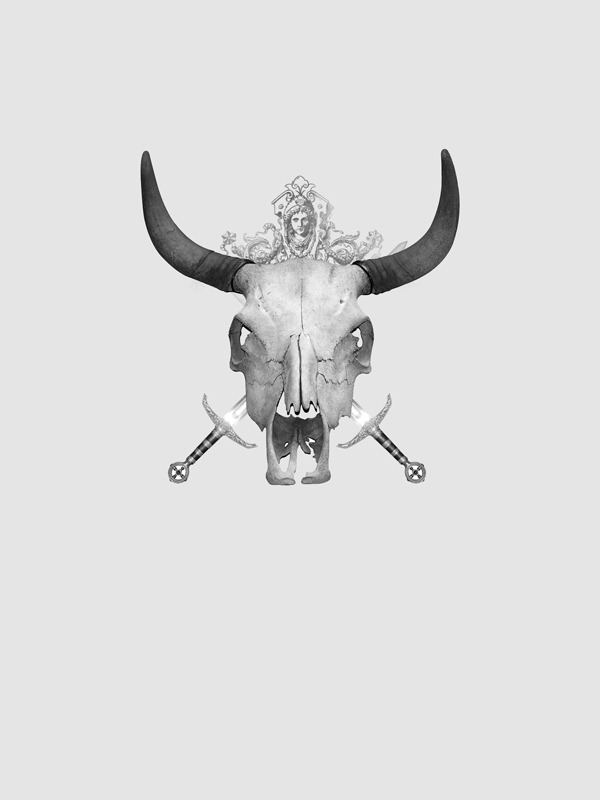
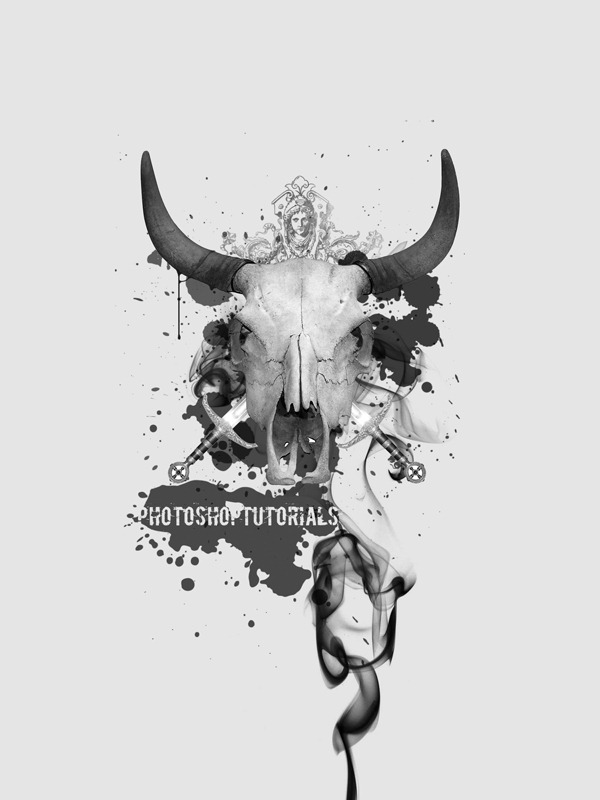
Preview of final results
Step 1
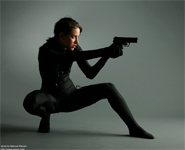
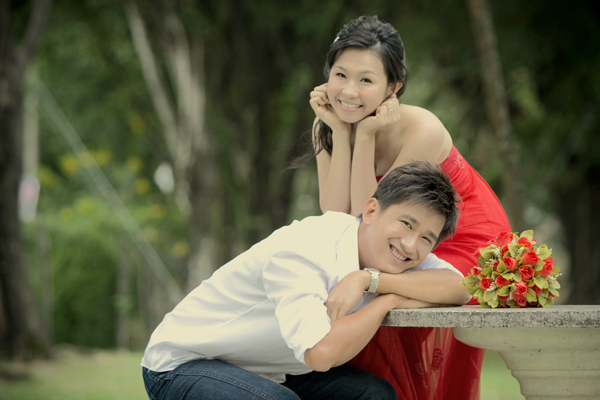
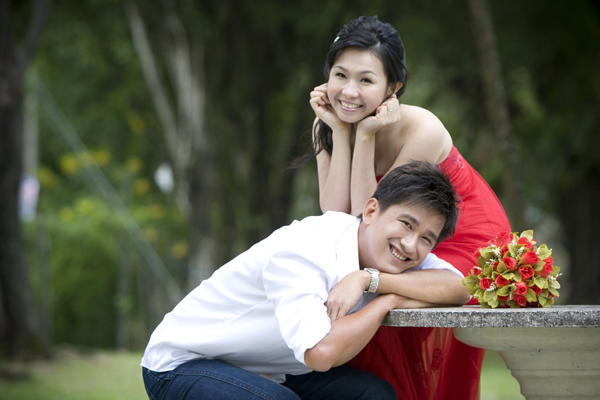
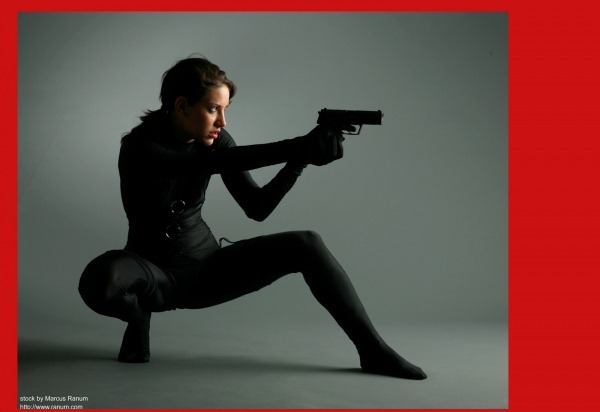
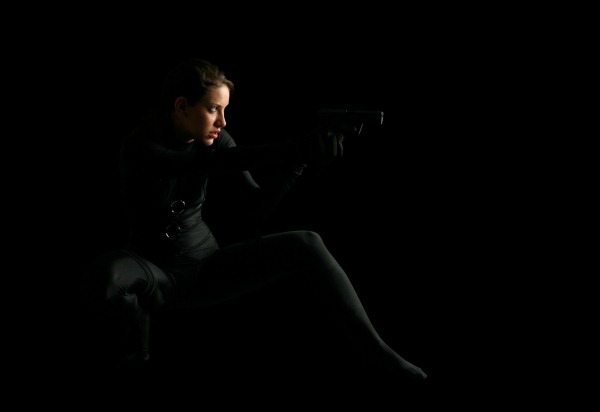
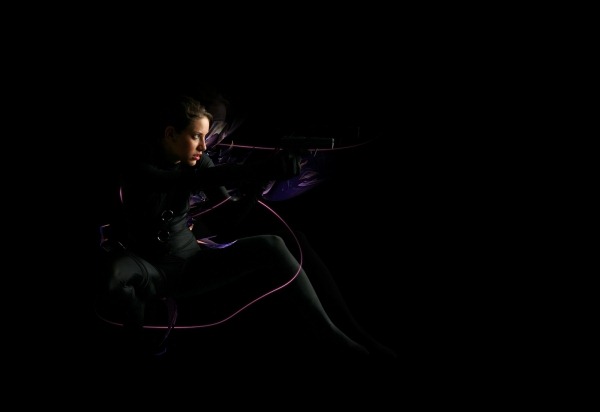
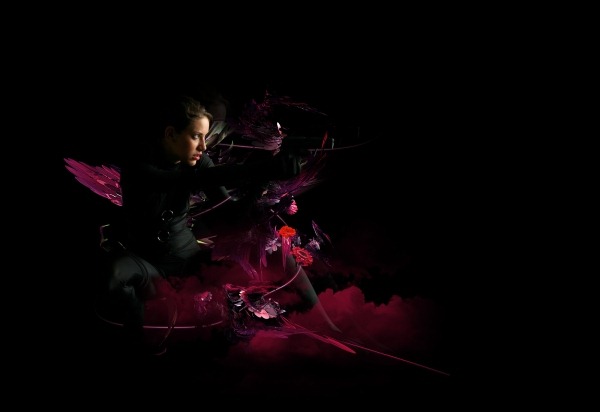
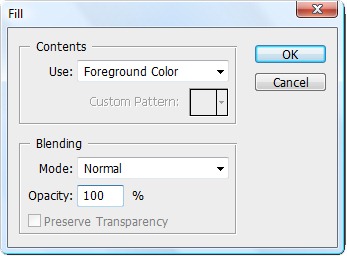
Create a new document with dimensions; 1600 x 1100px. First change the foreground color to a bright reddish color, the exact color doesn't matter then hit Alt+Backspace to fill the background layer red. Paste the image with the model into your document then scale and move it until it looks like the image below.
Step 2
Now we need to mask out the girl, this is usually the most tedious part of any photo manipulation but it needs to be done so you may as well get good at it. If you really can't be bothered masking it then you can download the masked image as a PSD file
here then just skip on to step 5, otherwise lets start masking. The method I use is quite complicated, first select the pen tool then look at the main toolbar and you will see three small buttons at the left, select the middle one which should say paths if you hover over it. Now start tracing round the edge of the girl, don't worry too much about being accurate as we will be putting her on a black background later. Also don't go round her hair, just draw round it without going near it. After you've got all the way round her and closed your path. Next right click somewhere in the document and select Create vector mask, this will get your image looking something like the one below.
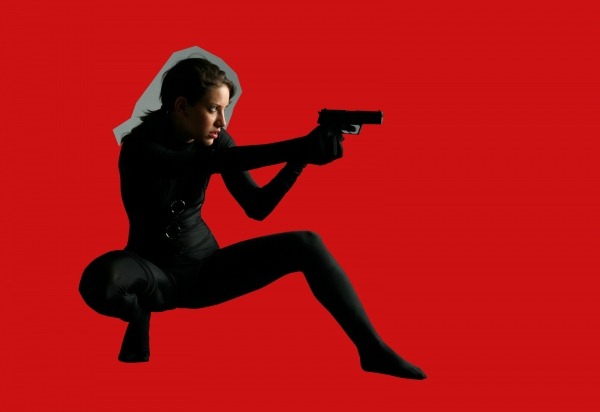
Step 3
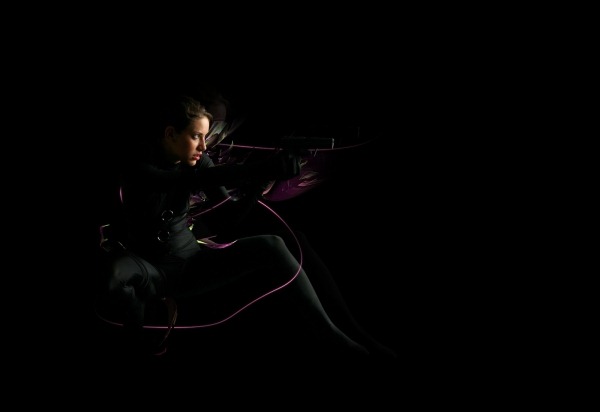
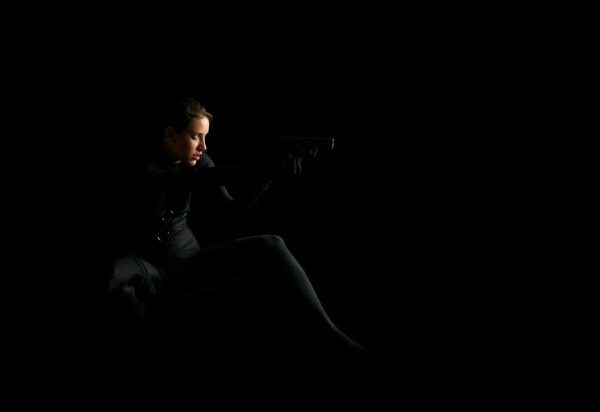
Now change the foreground color to black or just hit D then select the background layer and hit Alt+Backspace to fill it black. You'll notice that there will be some thin white bits around the model. So select the layer with the girl on it then click the layer mask button at the bottom of the layers panel. Now select the brush tool and choose a soft round brush about 50px diameter and 50% opacity and make sure the foreground color is still black. Now just draw over the white patches just to blend the black of her clothes into the background. After you've done this do the hair but change the brush opacity to 100% then just roughly blend the hair into the background. After fiddling with it for a while you should have a result like below.
Step 4
Now depending on what version of Photoshop you have will dictate what you do in this step, If you have CS3 or above then just right click on the girl's layer and select Convert to smart object. Any other version below CS3; then select the girls layer then create a new layer then hit Ctrl+E and when the dialog box comes up select apply. Now I scaled this layer slightly and move it a bit too then added another layer mask and used the same technique as in the last step to blend the model into the background, this is optional and only do it if you think your image needs to be blended more. If you got stuck at all then just go and download the PSD file I mentioned in step 2.
Step 5
Duplicate the girl's layer (Ctrl+J) then scale it up a bit then in the layers panel move this layer below the original layer. Now change the opacity of this new layer to about 10%.
Step 6
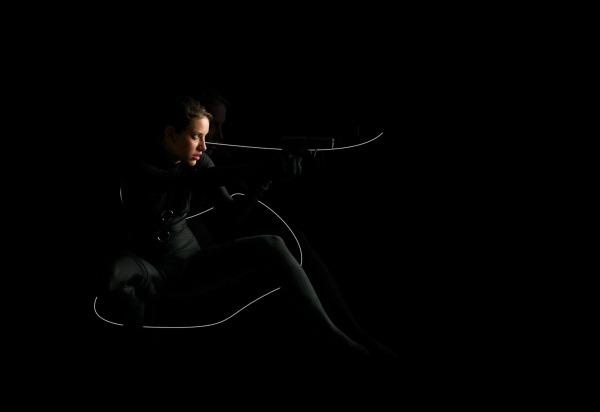
Create a new layer then change the foreground color to white then select the brush tool. Change to a 2px, 0% hardness, 100% opacity round brush. Now select the pen tool and draw a curvy path that kind of wraps around the girl. Then right click on the document and select Stroke path and make sure simulate pressure is unchecked.
Step 7
Now pay attention to the next two steps as we will be doing the same thing a few times from now on. First Ctrl+click on the original girl's layer then select the layer with the curvy line in it then Alt+click on the layer mask button at the bottom of the layers panel (cirircle within a rectangle button). You'll see that the line now goes behind the girl. Now hit Ctrl+D to deselect.
Step 8
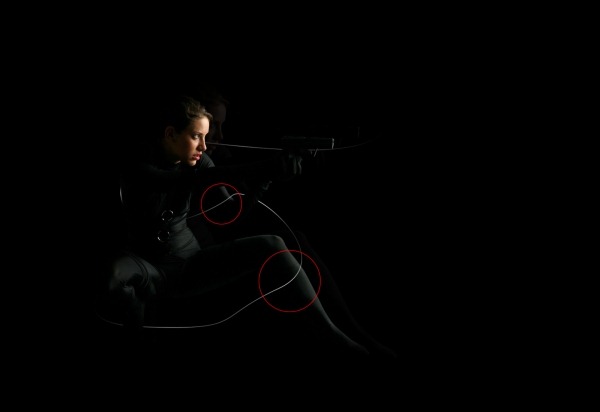
Now we want the line to go over and under the girl layer. So select a a hard round white brush about 50px diameter and 100% opacity. Select the layer mask on the line layer then paint on the parts that you want to appear above the girl, I painted on the parts that I've circled in red. Next we want to fade out parts of the line, mainly the ends and the parts that we want to appear far away. So change the hardness of the brush to 0% and the opacity to about 20%, also change the foreground color to black then just brush over the parts you want to hide a few times.
Step 9
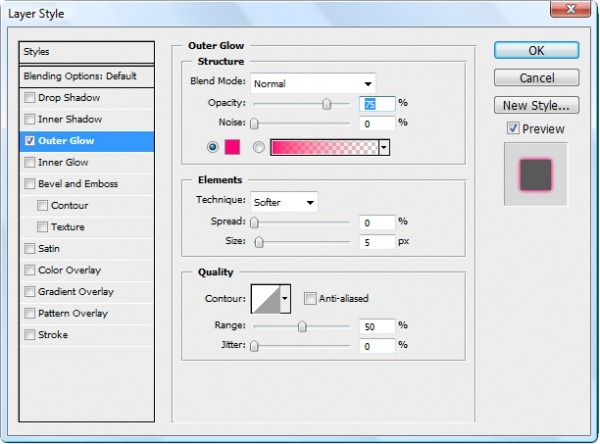
Now right click on this layer and go to blending options then add an outer glow using the settings shown below. You can repeat repeat these steps to add a few more lines, I just left it at one.
Step 10
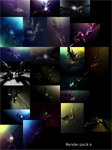
Now we're going to put in some abstract renders so open one of the renders in the pack that you downloaded then drag the render layer into your original document, you may have to minimize the windows within photoshop. Most of these renders come with the render layer and a background layer, just put the render layer in then close the document. After you've dragged it in then scale and move it until it is placed over the girl like so.
Step 11
Now we use exactly the same masking technique we used for the line, basically do steps 7 & 8 for the render instead of the line, notice how most of the render appears behind the model but some parts appear in front of her. Remember to fade out some parts of the render too, especially since there are some sharp edges in some of the renders.
Step 12
We want to go for a reddish pink color scheme so if the render you used isn't the right color then go Image>Adjustments>Hue/Saturation then change the hue slider until it looks right, I had to do it with the first render I used, so look at the difference.
Step 13
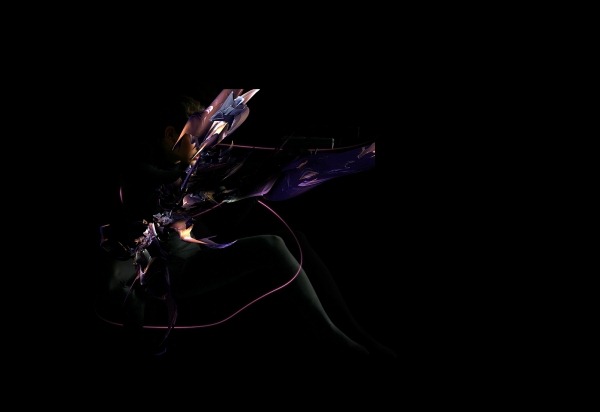
Now we have to do exactly the same with a few more renders. I used three in total. It is important that the renders look like they go in front and behind the girl to add depth. This is what mine looked like after I added two more renders.
Step 14
This step I guess is optional, if you want to add some more stock images into your piece then now is the time to do it. The process consists of pasting in an image, masking it like we did with the girl then scaling and positioning it in the image. Some ideas are flowers and plants, small airplanes or balloons etc. I added a couple of flowers but you can put in more or none at all.
Step 15
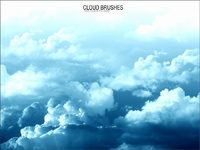
Next we're going to put some clouds into our picture, start by selecting the eyedropper tool then pick a color from part of your render, you should now have a bright pinky color as your foreground color. Create a new layer, now select the brush tool then go into your clouds brush pack and choose a cloud brush. Now place your cloud somewhere over the girl then use the same masking technique we used for the line and for the renders but for this we want most of the cloud in front of her. Below I've shown what it should look like after you've added one cloud and masked it.
Step 16
Now repeat the last step twice more, using a different brush and picking a different color. Remember to put it in a new layer and to mask it in the same way.
Step 17
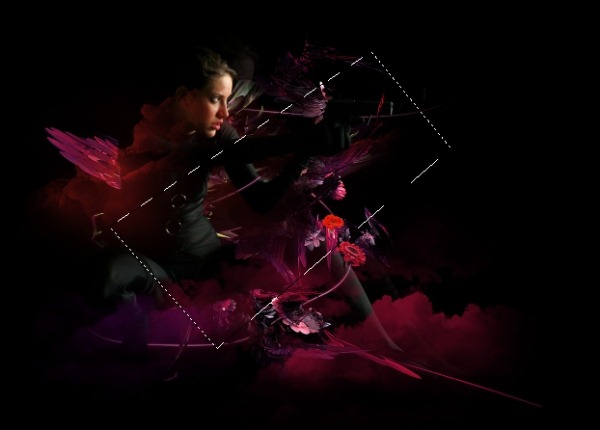
Now we're going to add a kind of glassy effect that we've been seeing a lot recently in this type of art. First create a new layer then select the polygonal lasso tool then draw a four sided shape similar to the one below.
Step 18
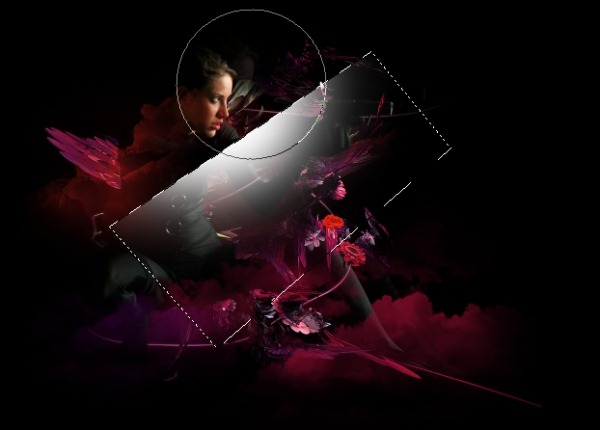
Next select the brush tool and choose a 400px round brush, 0% hardness, 100% opacity then change the foreground color to white. Now just brush along, just outside the edge of the box to get this effect, you may need to try a few times to get it right. Now hit Ctrl+D to deselect then you can move or rotate this layer.
Step 19
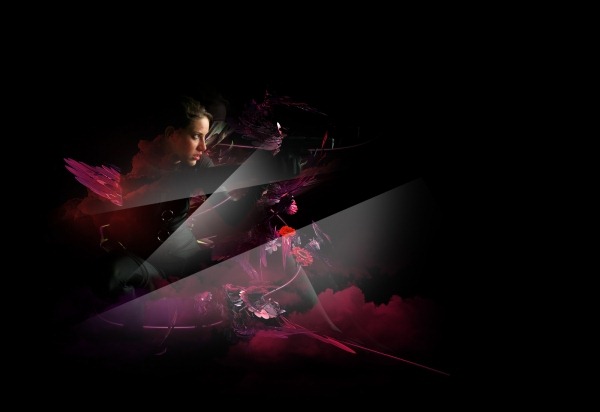
Now do these two steps twice again, but make the rectangle selection at a different angle or size, so you have three of these glassy things like in the image below.
Step 20
Now alter the opacities of these three layer to something between about 20% and 35%, just until they look right and don't do them all the same opacity, make them different and it will add some depth.
Step 21
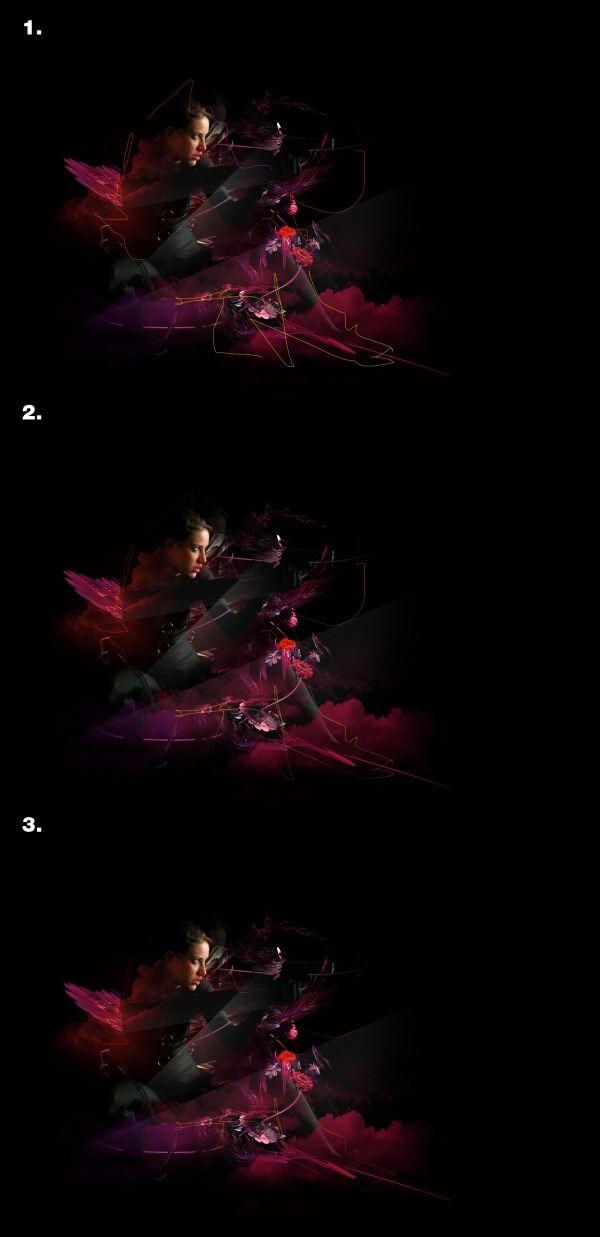
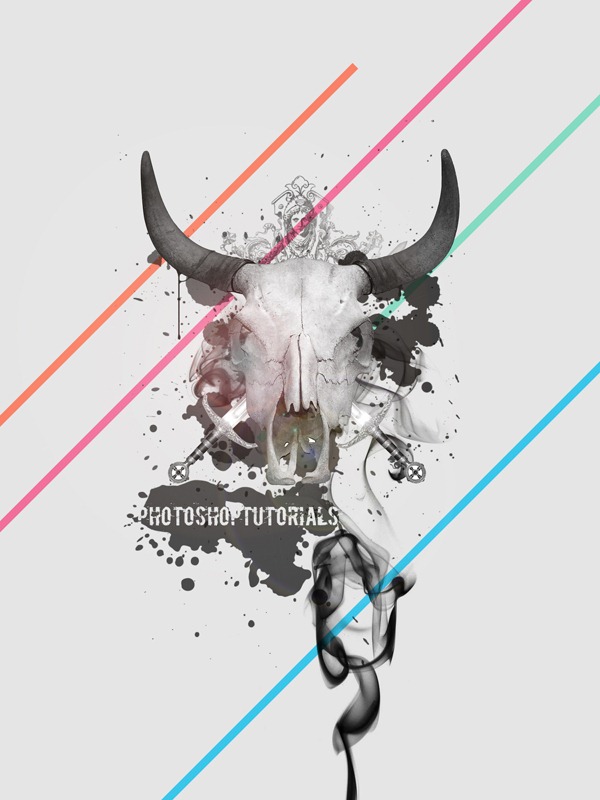
In this step we're going to put in some random wee lines, this is quite subtle but it still adds to the overall image. First select a 1px round brush then choose a bright color, either yellow, orange or pink then brush some randowm lines in then do the same with a different color. Take a look at stage number one. Next add a layer mask by clicking the layer mask button at the bottom of the layers panel and use the second part of masking technique that I mentioned, where you blend the ends of the lines. don't worry about making these lines go behind the girl. You can see this in stage 2. Then just change the blend mode of this layer to color dodge, You can see what mine looked like in the bottom image, stage 3.
Step 22
The next thing I did was to add some small dots, they aren't really visible in the image below but they do add to the image. Create a new layer then select the brush tool and choose a 1px soft round brush with full opacity. Make sure the foreground color is white then just put some dots on the page, try also doing some with a 2px brush as well.
Step 23
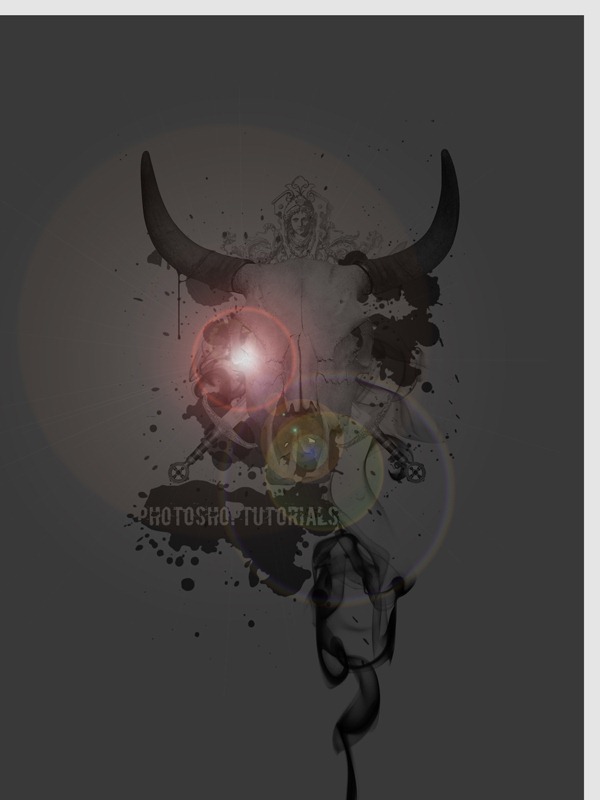
That's us pretty much finished this tutorial but I did add a few finishing touches to the image and there is still a lot you could do to it. I added a very faint lens flare on a black layer then set it to screen then masked it a lot and lowered the opacity of it. I also put some white lines in to the right of the model and in a new layer then moved the layer to the bottom of the layer stack then masked it out a bit to blend it in. I then did some color adjustments to bring out the reds and some highlights, I used a mixture of Brightness/Contrast, Curves and Color Balance adjustment layers. Just experiment with some adjustment layers until it looks good. Have fun with it.
source: photoshoptutorials.ws
 button in the layers palette. Double-click on the group name in the layers palette to rename the group.
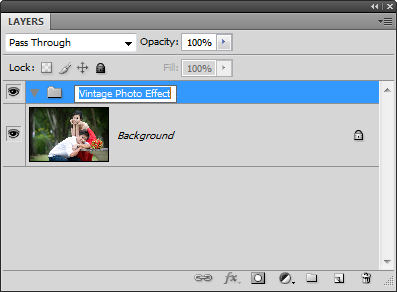
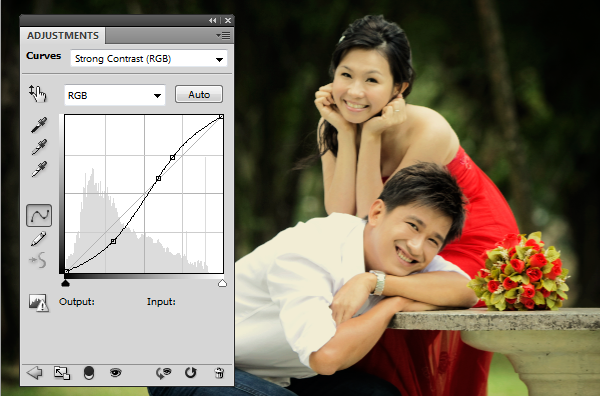
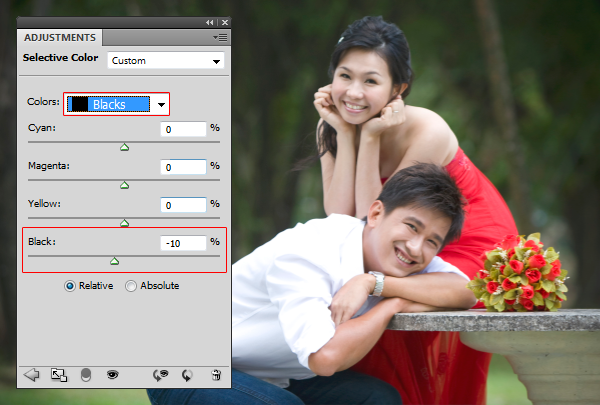 Next, select neturals from the colors drop down menu. Watch the skin tones while adjusting the blacks setting. Lower the blacks so that the shadows on the face are reduced but not so much so that they disappear. This setting will vary depending on the lighting of the skin tone. For our image, we used a setting of –20%.
 Finally, adjust the whites. Select whites from the colors drop down menu then increase the blacks. This will further reduce the contrast. If you increase it too much, your highlights will be darker than your midtones and shadows.
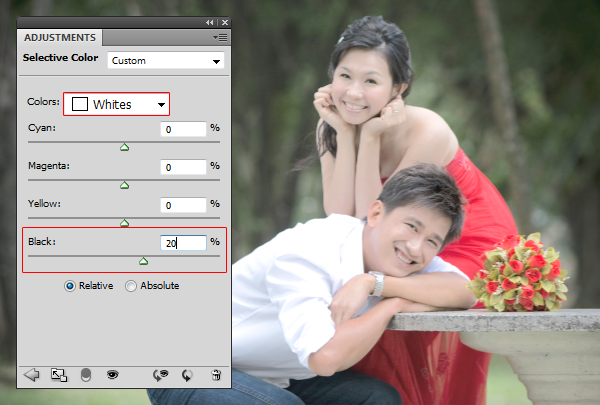


![15[1]](http://photoshoptutorials.ws/images/stories/dd1a1818f1bb_14A66/151.jpg "15[1]")