[postlink]http://testlifepsd.blogspot.com/2010/04/blissful-landscape-photo-manipulation.html[/postlink]Create a breath taking scenery by combining two photos and applying several photo effects. When you follow this Photoshop tutorial, you’ll learn masking techniques and several photo effects.


 button. You should now have a layer mask like the screenshot shown below. Make sure that the layer mask is selected before proceeding with the next steps. In the Layers palette, the thumbnail of the layer mask should have a white outline like the image below to indicate that the layer mask is selected. If it doesn’t, click on the layer mask thumbnail to activate it.
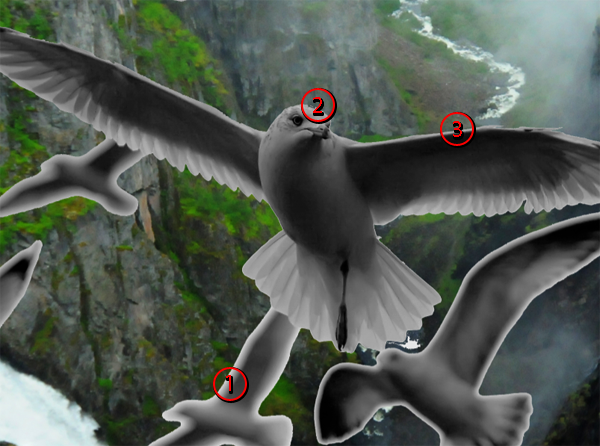
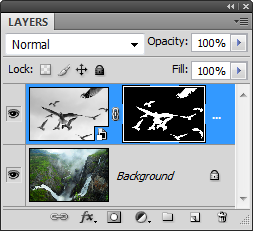 We have a mask but we’re not done yet. There are three problems with the mask:
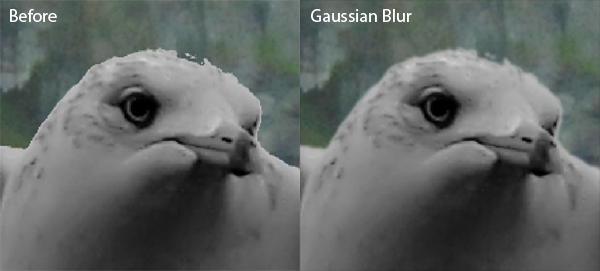
 Here’s how the edges should look like after applying the gaussian blur filter.
 Then, open the brush settings by right clicking anywhere in the document window. Adjust the master diameter and sardness settings.
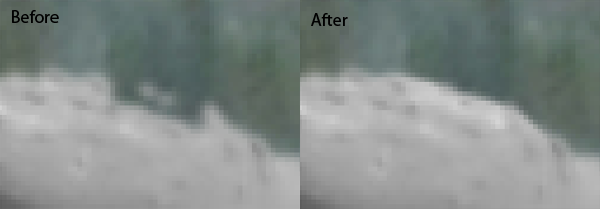
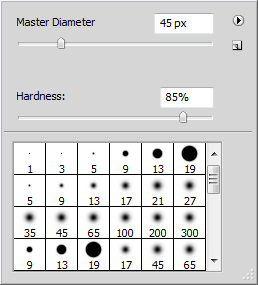 Edit only the front seagull that is in focus. Zoom in to about 500% then use the brush tool to fill in any gaps. If you have any protruding edges, you can use the eraser tool with the same settings as the brush.
 Zoom in about 300% to the edge of a seagull in the background. Right click anywhere in the document window to bring up the brush settings.
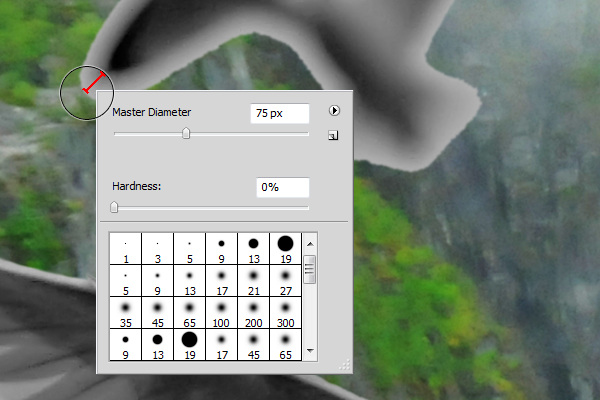 With the proper brush size all set up, begin erasing the edge of the seagull.
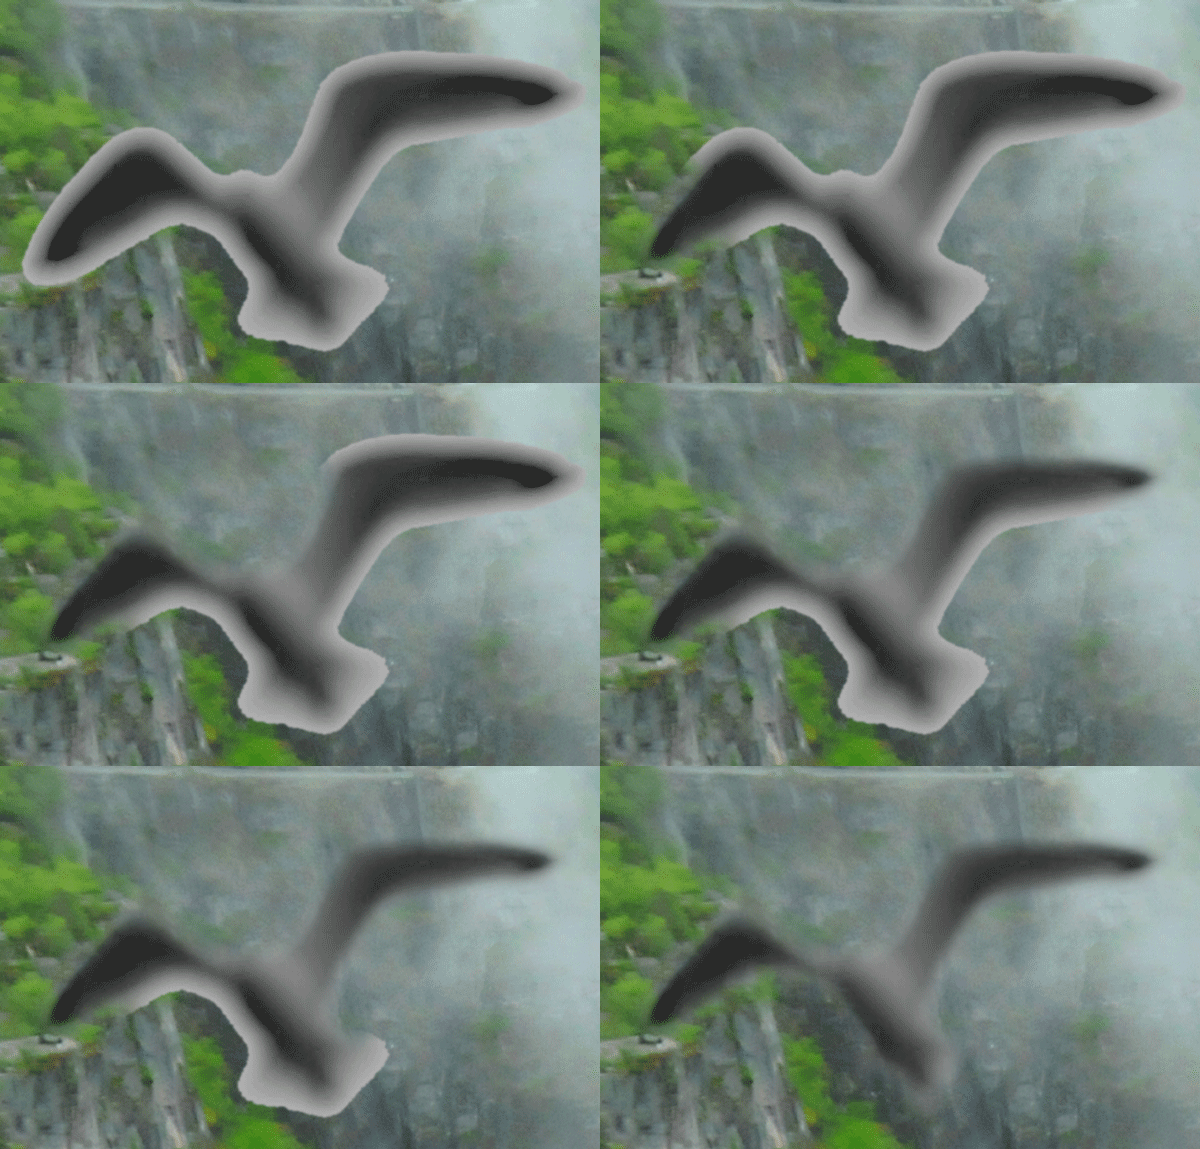
 Repeat this step for the rest of the seagulls. Because you already have the brush hardness set to 0%, you can conveniently change the brush size of the eraser by pressing the [ or ] keys on your keyboard. Press the [ key to reduce the brush size or ] to increase. Here’s what my image looks like afterwards.
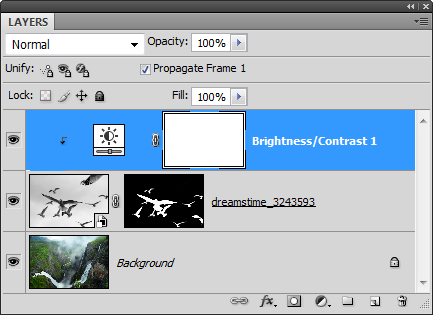
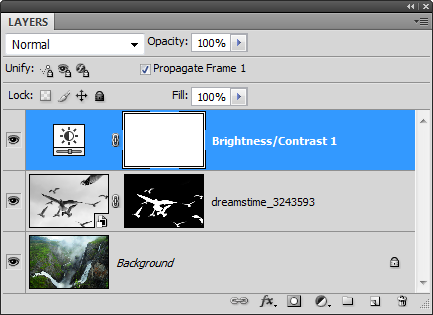 With the adjustment layer selected, choose Layer > Create Clipping Mask. Your layer is now using the layer mask from the layer below and should look like the image below:
 Depending if you added a Brightness/Contrast or Levels adjustment layer, you will see an
  or
or  icon in the layers palette. Double click on that icon to bring up the settings.
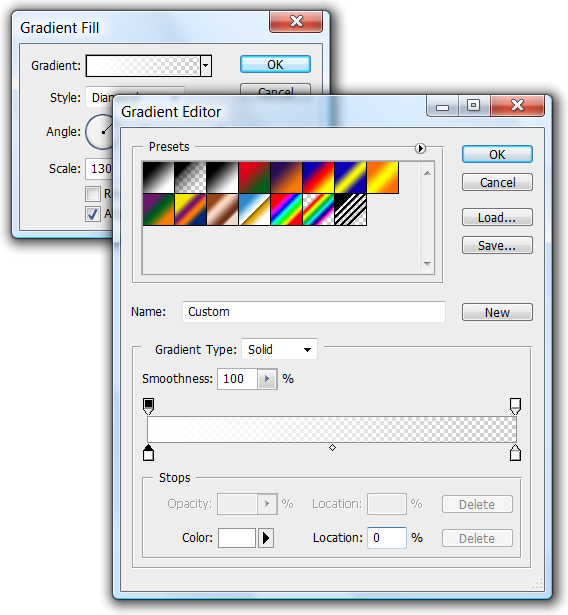
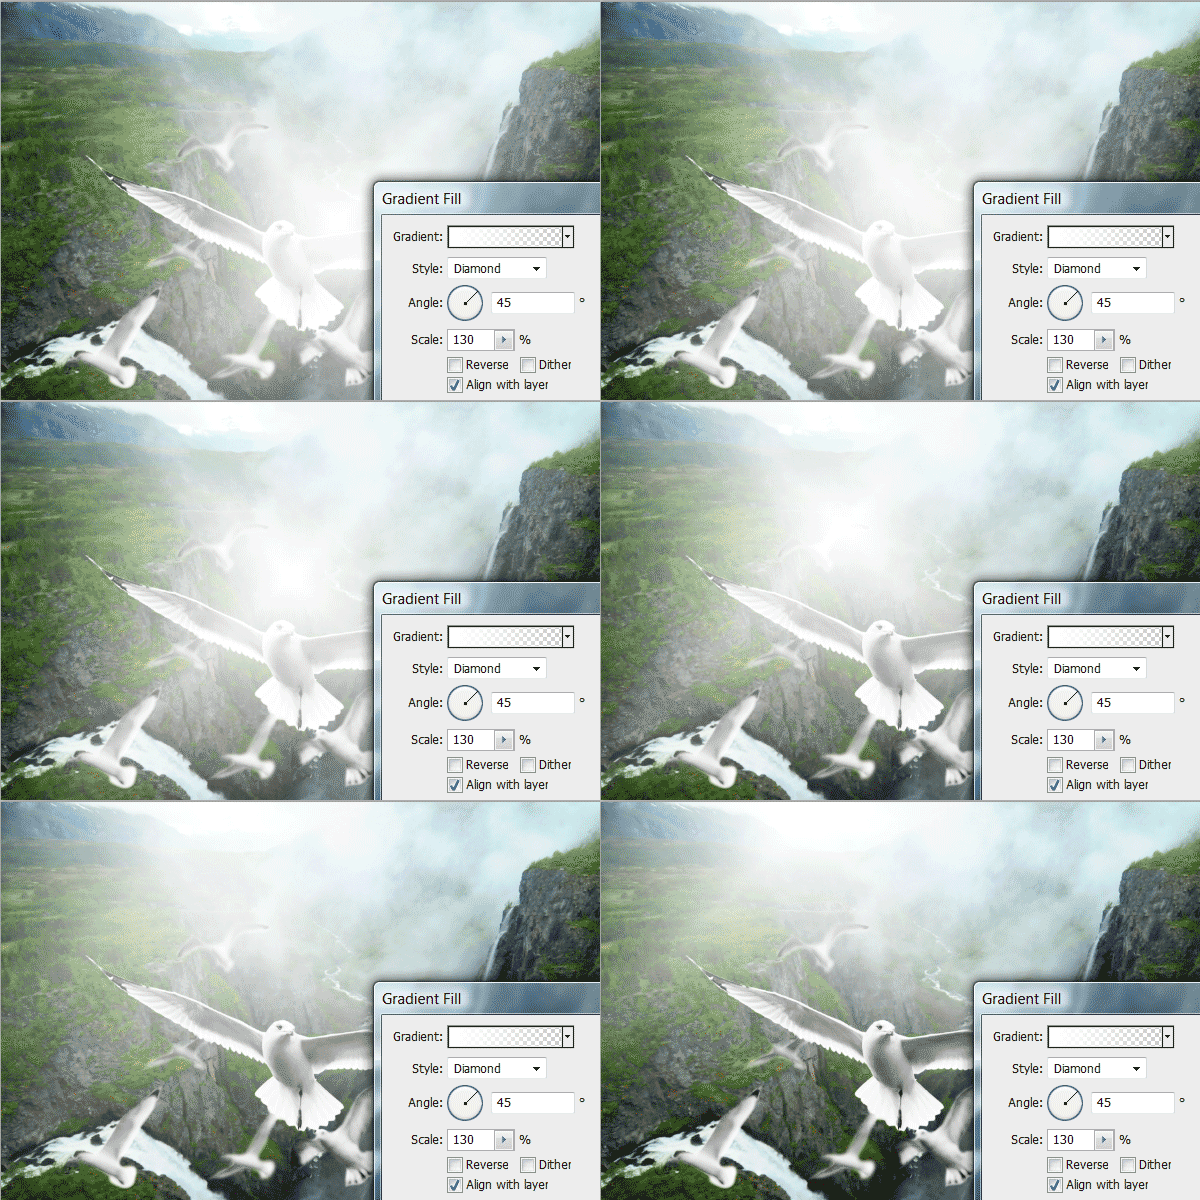
In the gradient fill settings, edit the gradient setting to the settings shown below:
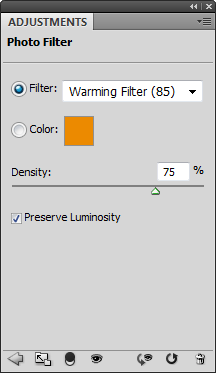
 Apply the following settings:
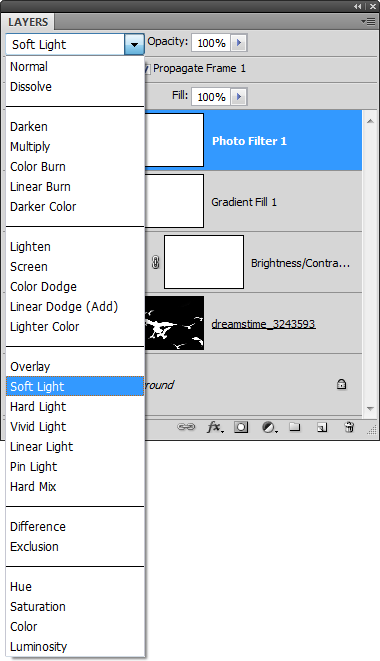
 Change the blending mode of the photo filter adjustment layer to soft light.
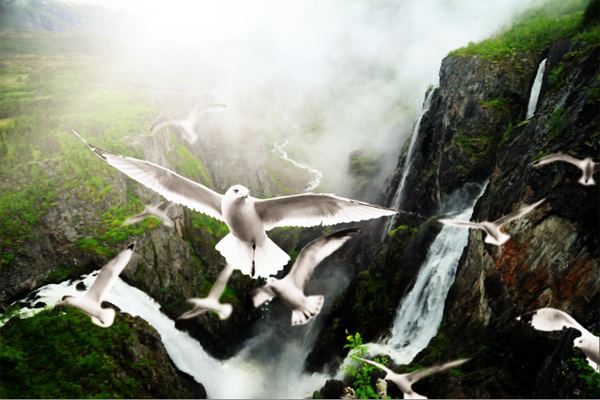
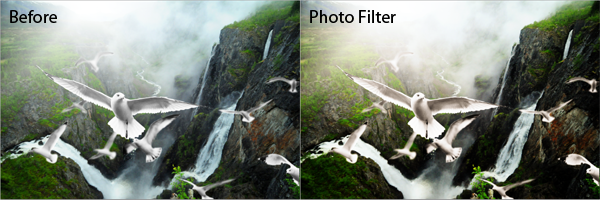
 Here’s what the image looks like after adding the photo filter adjustment layer.
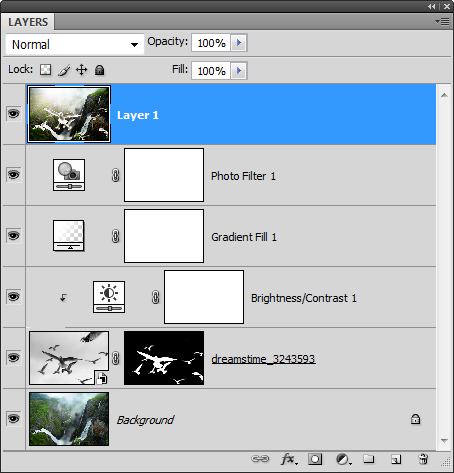 Change the blending mode to soft light. Immediately, you will see that the contrast has been increased even further to a point where the effect is too harsh.
 To soften the effect and give it a glowing effect, we’ll blur the layer using the Gaussian Blur filter.
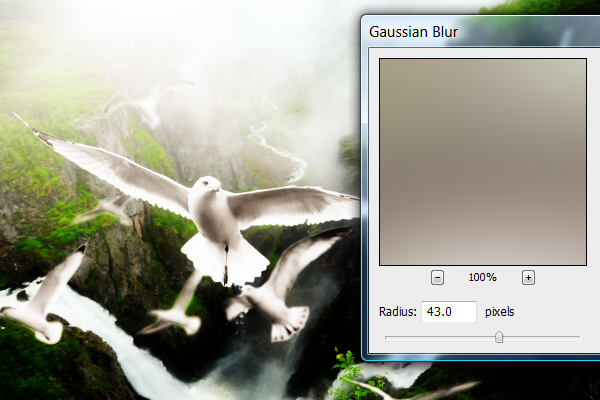 The final image looks soft and dreamy now but because of the high contrast effect of this photo effect, some of the details in the shadows are now just a black blob. To fix this, we’ll change the blending of the layer so that the layer doesn’t affect those dark areas. Right click on the current layer then select Blending Options.
 At the bottom of the blending options window, you’ll find the blend if options. Hold the alt key and drag the right half of the black input slider towards the right until the shadows in the image is restored.
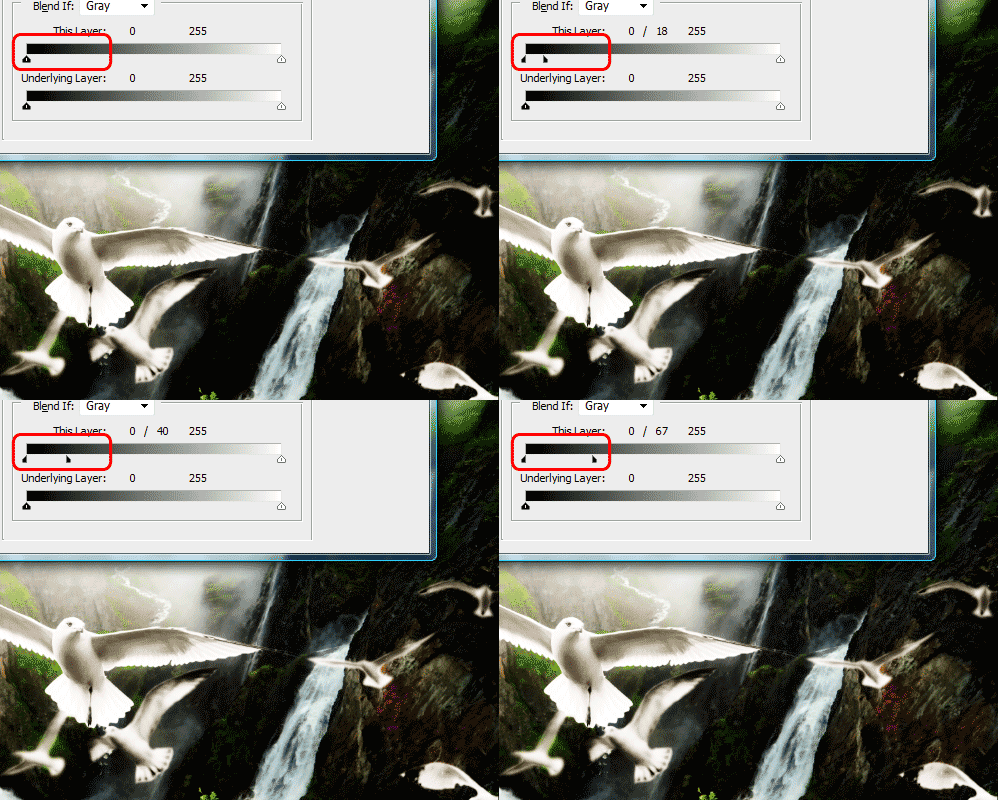 If your slider isn’t moving like the animation above, ensure that you are clicking exactly on the right half of the input slider with the alt key held down.

Blissful Landscape Photo Manipulation Photoshop Tutorial
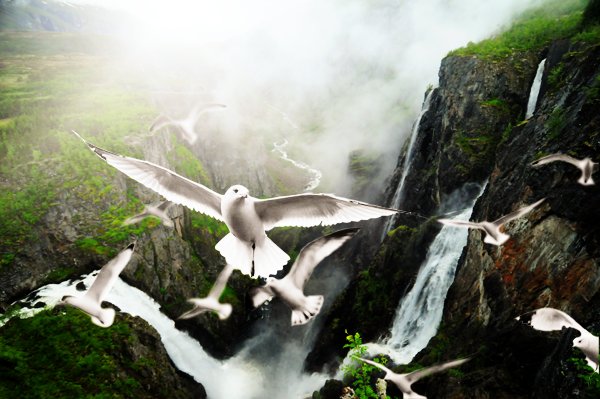
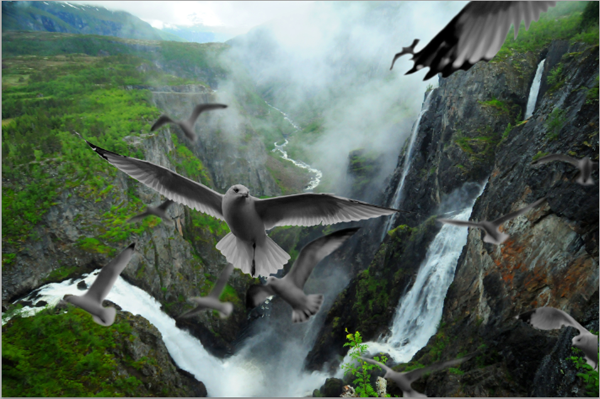
Preview of final results
Rollover the image below to see the before and after effect.
Stock photos used for this tutorial
For this tutorial, we used two royalty-free images from Dreamstime.com. They are not free but you can use other similar photos of your own or from free stock photography websites such as sxc.hu. If you choose to use the same images we used, we recommend that you use the medium sized or larger images.

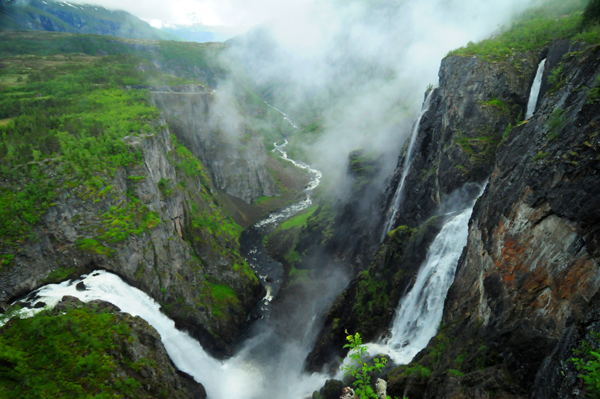
Step 1 – Open the landscape photo
Start by opening the landscape photo into Photoshop.
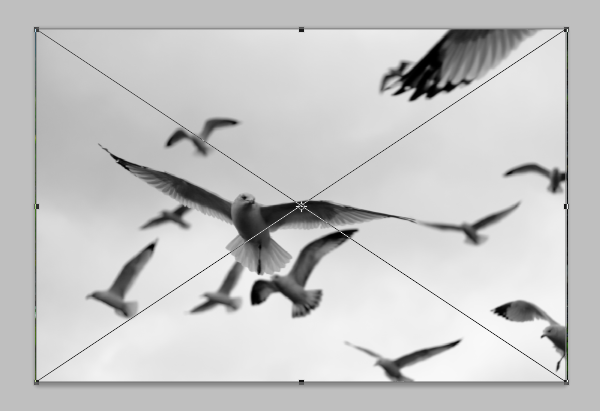
Step 2 – Place the photo of the seagulls
Place the picture of the seagulls into the photo. To do this, choose File > Place, browse for the image file, select it then click OK. It will place the image into your current document with a transform tool activated like shown below. You can resize the image if you feel the need to but it is better if you do that later. Press Enter on your keyboard to exit out of the transform tool.
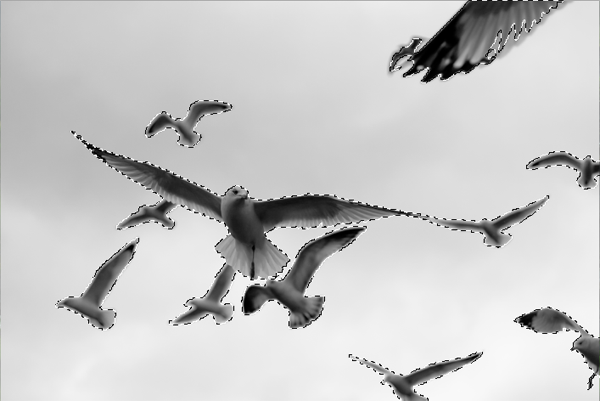
Step 3 – Create a selection of the seagulls
Use the Magic Wand or Quick Selection tool to create a selection of the seagulls. Try to make the selection as accurate as possible. The seagulls in the distance are blurry so make sure that your selection covers the blurred edges. If you’re using Photoshop CS3 or later, you usually can use the “Refine Edge” tool in to refine the edges of the selection. However, in this case, we cannot use it because all the seagulls have a different edge softness. Instead, we’ll need to refine the edges manually using a variety of tools you’ll learn about after the next step.
Step 4 – Convert the selection into a layer mask
Select the top layer with the seagulls then, in the Layers palette, click on the
- The seagulls in the distance have a white outline.
- There are some rough edges on the wings and head of the seagull in the front.
- The edge of the front seagull is too sharp and does not match the acutance (how sharp the edges look) of the landscape photo underneath.

Step 5 – Correct the edge sharpness
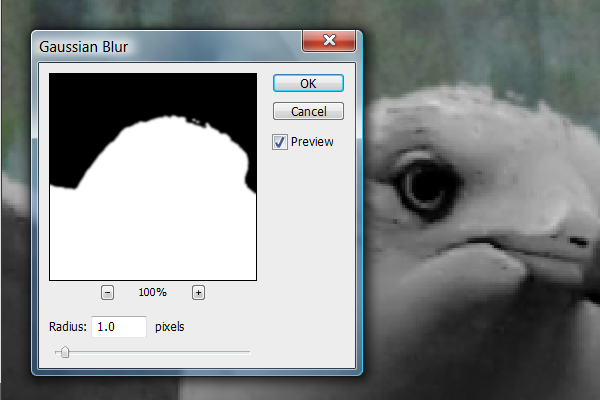
We’ll begin by correcting the edge sharpness of the seagull in the front. Right now, it looks too sharp so we’ll give it a slight blur with the gaussian blur tool. Choose Filter > Modify > Blur then adjust the radius setting so that the edge of the seagull in the front blends in with background. Don’t worry about the other seagulls because their edges are already blurred. Click OK when done.

Step 6 – Fix the rough edges
If you have any awkward edges that need to be fixed, use the Brush and Eraser tools. First, set the following settings for the brush and the eraser tool if you need to use it.- Mode: Normal
- Opacity: 100%
- Flow: 100%
- Airbrush Capabilities: Disabled
- Master Diameter: This is the size of your brush. If you change this setting by over 10 pixels, you’ll need to readjust the hardness setting.
- Hardness: This is how hard the edges will be. Adjust this setting so that the edge hardness of your brush matches the edge hardness of the seagull. If the hardness is too high, the edges you retouch will be too sharp. If it is not hard enough, the edges will appear too feathered.


Step 7 – Blend the blurry edges
Now we’ll work on refining the edges of the out of focus seagulls in the distance. You’ll learn how to easily mask the edges of out of focus objects. Begin by selecting the Eraser tool from the toolbar. In the option bar, the settings should be as follows:- Mode: Normal
- Opacity: 100%
- Flow: 100%
- Airbrush Capabilities: Disabled
- Master Diameter: Adjust so that the radius of the brush is equal to the edge thickness of the seagull.
- Hardness: 0%


Step 8 – Brighten the seagulls
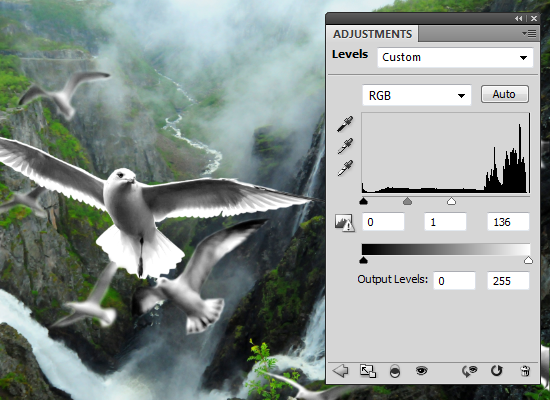
We’re finally done the mask and we can move on to the fun stuff just after we fix the exposure of the seagulls. Right now, the seagulls are underexposed making them look gray.- Photoshop CS3 or newer: Add a brightness/contrast adjustment layer (Layer > New Adjustment Layer > Brightness/Contrast). If you’re using Photoshop CS3, click OK to exit out of the brightness/contrast settings. If you are using Photoshop CS4, the Brightness/Contrast setting is in the adjustments panel (Window > Adjustments).
- Photoshop CS2 or older: Add a levels adjustment layer (Layer > New Adjustment Layer > Levels. Click OK to exit out of the Levels settings.


- Photoshop CS3 or newer: Increase the brightness until the seagulls are white.

- Photoshop CS2 or older: Move the white input slider towards the left to brighten the seagull.
Step 9 – Create a simple sun burst
We will now create a sun burst using a gradient fill layer. Before you add the gradient fill layer, make sure that you have the top layer selected so that when you add the gradient fill layer, it will be positioned as the top layer. Choose Layer > New Fill Layer > Gradient.In the gradient fill settings, edit the gradient setting to the settings shown below:

- Style: Diamond
- Angle: 45º
- Scale: 130%

Step 10 – Add a warm photo effect
In this step, we’ll give the image a warm tint and increase the contrast. Like in the previous step, ensure that you have the top layer selected so that when you add another adjustment layer, it’ll appear as the top layer. Choose Filter > New Adjustment Layer > Photo Filter. Use the settings as shown below:


Step 11 – Add a dramatic soft glow effect (optional)
Some people may prefer making the image more dramatic with a soft glow effect. This step will show you how to add a simple soft glow effect without losing details in the shadow. It contains a step that will teach you how to use the blend if option that you may find useful if you do a lot of photo retouching.


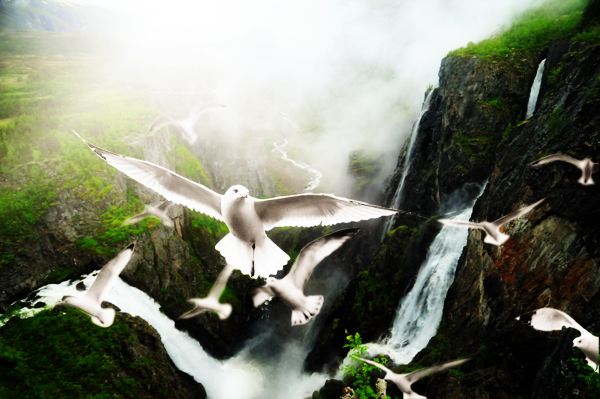
Final Results
Rollover the images below to see the before and after effect.Up to step 11

Step 12 applied
source: photoshoptutorials.ws
0 comments:
Post a Comment