[postlink]http://testlifepsd.blogspot.com/2010/03/blending-two-images-seamlessly-with.html[/postlink]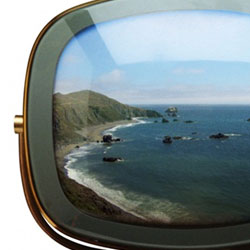 Let’s say you need add an image to another one, but it needs to look seamless. The image we’ll be adding to the other needs to have the same angle and texture of the other one. We can use the lens distortion tool and a layer blending mode for this example, and it’s also a fun way to learn the lens distortion tool and layer blending modes.
© ISTOCKPHOTO/LYNN CHEALANDER

Let’s say you need add an image to another one, but it needs to look seamless. The image we’ll be adding to the other needs to have the same angle and texture of the other one. We can use the lens distortion tool and a layer blending mode for this example, and it’s also a fun way to learn the lens distortion tool and layer blending modes. Preview of Final Results
Blending Two Images Seamlessly Photoshop Tutorial
Step 1
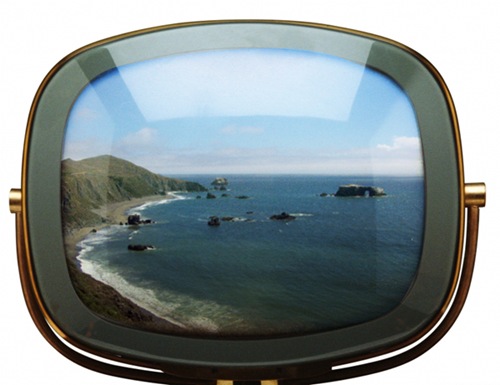
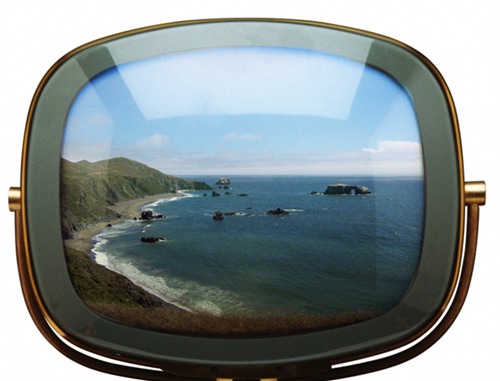
Here’s the image we want to overlay onto another one.© ISTOCKPHOTO/LYNN CHEALANDER
Step 2
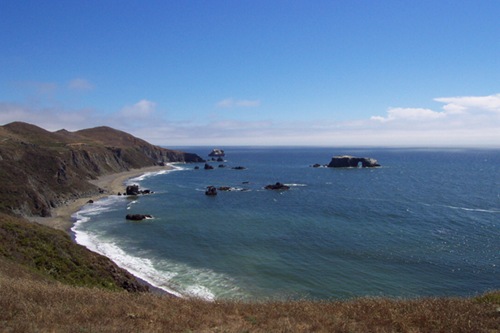
Here’s the image we’ll need to add the other image to. To use these examples, right-click each and save the images to your computer and open them both in Photoshop.Step 3
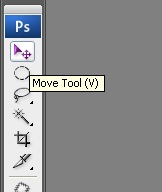
Select the Move toolStep 4
Click-and-drag the beach photo onto the television photo. Drag the beach photo so it covers the television. We now have two layers.Step 5
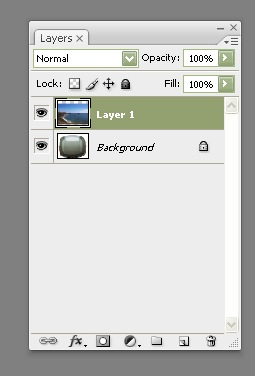
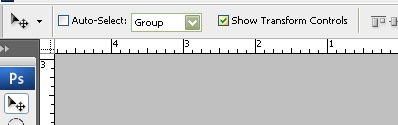
With the Move tool selected, make sure the Show Transform Control is selected. Click the Layer 1, the beach layer, in the layers palette.Step 6
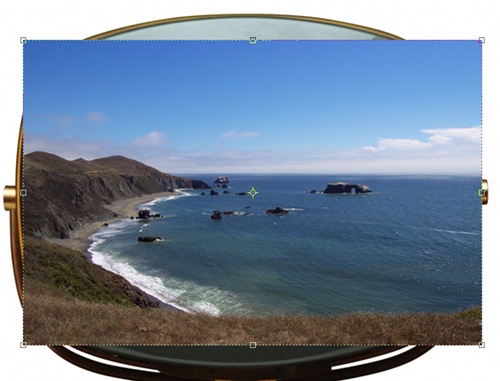
Click the Eye icon of Layer 1 in the layers palette in order to see the television layer, seeing where the beach will show once we remove the area outside of the television screen. Click-and-drag the corner of the beach photo to resize it so more of it will show on the screen; hold Shift to maintain proportion. Make sure all of the television screen is covered. After resizing, press Enter to make the changes.Step 7
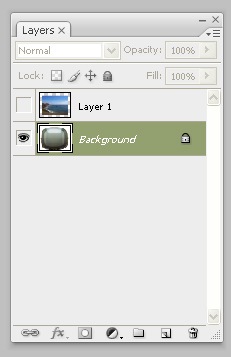
Click the Eye icon next to Layer 1, the beach layer, to hide it for now. Click the Background layer, the television layer.Step 8
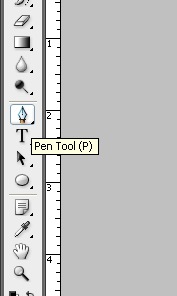
Now we’ll need to draw a selection around the television screen. To select those corners, we’ll need to use the Pen tool. Select the Pen tool.Step 9
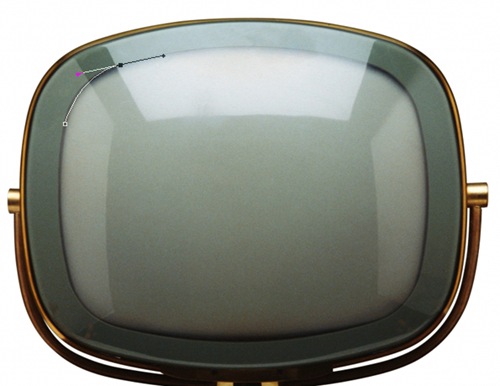
Click (not click-and-drag) along the border of the screen near the corner. Then click-and-drag to draw a curving line on the side. The Pen tool may take a little bit to get used to, but generally click somewhere near the beginning of a curve, and click-and-drag near the ending of the curve.Step 10
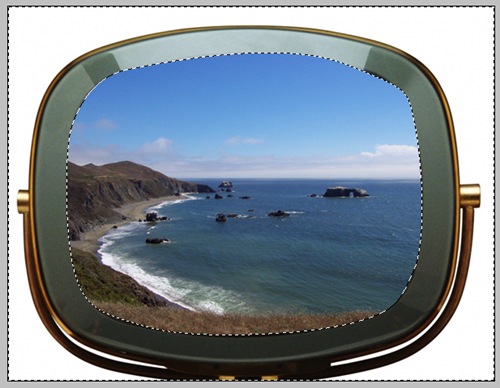
Draw the shape around the edge of the television screen, until we complete the shape.Step 11
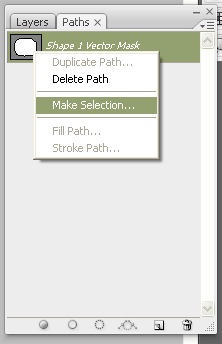
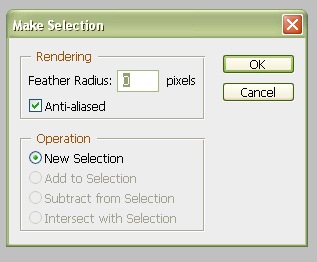
In the Paths palette, right-click the Shape 1 Vector Mask and click Make Selection.Step 12
Press OK.Step 13
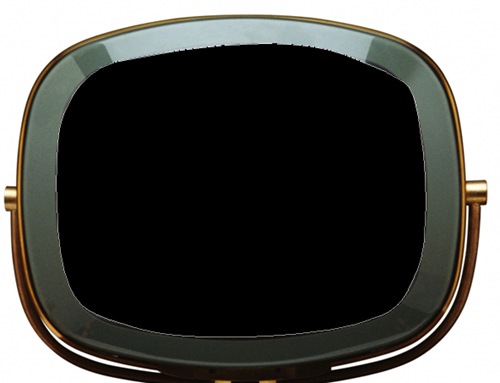
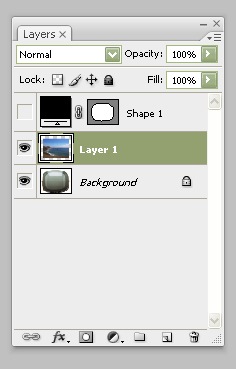
In the Layer palette, click the Eye icon of the shape layer since we don’t need it, and click the Eye icon of Layer 1 and click Layer 1 to select it.Step 14
Go to Select>Inverse and press Backspace to delete the pixels outside of the television screen on the beach layer.Step 15
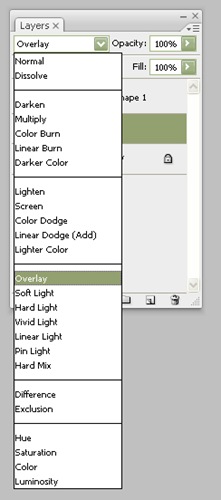
Change the layer blending mode of Layer 1 to Overlay.Step 16
This overlays the beach image onto the television screen, but the beach photo’s angle needs to protrude a little bit in the middle to fit the television screen.Step 17
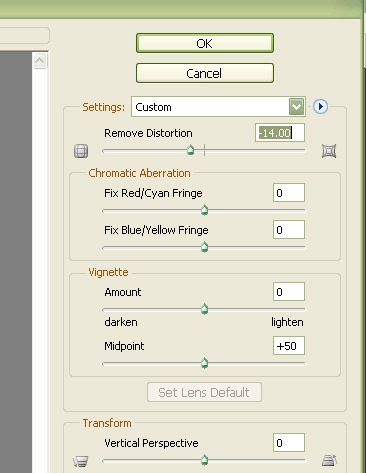
With Layer 1 still selected in the layers palette, go to Filter>Distort>Lens Correction. Set the Remove Distortion to about -14, or until it adds some barrel distortion to fit the screen.Step 18
The problem here is that the beach is now moved outside of the screen area. Click the Eye icon of the shape from earlier and repeat steps 11-14 to remove the area around it again. Now we have an image that is seamlessly blended with another, using both the overlay blending mode and adding some lens distortion to match the background. Be sure to remove any pixels that on top of the area outside of the screen by selecting it with the polygonal lasso tool and press Backspace to remove them.source: photoshoptutorials.ws
0 comments:
Post a Comment