[postlink]http://testlifepsd.blogspot.com/2010/03/old-printouts.html[/postlink]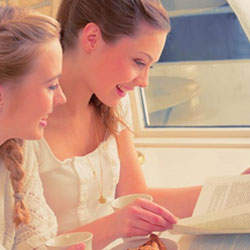 Make your photos look like old printouts with washed out colors and stained paper. This photo effect is a great way to add a unique twist to your photos. Click to find out how to apply this photo effect with Photoshop.
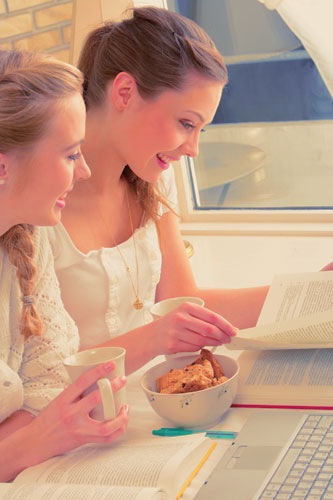
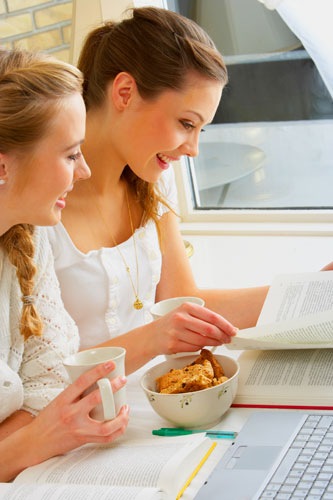
 This is what the image looks like so far. It looks like an old printout now, but the effect isn't very desirable. In the next step, we'll adjust the blending mode of the two adjustment layers to create an image that is more useable.

 Make your photos look like old printouts with washed out colors and stained paper. This photo effect is a great way to add a unique twist to your photos. Click to find out how to apply this photo effect with Photoshop.
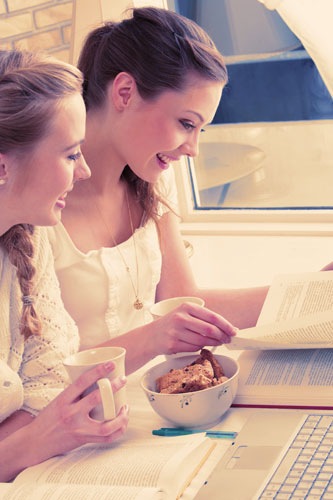
 Preview of Final Results

Old Printouts Photoshop Tutorial
Step 1
Begin by opening any photo into Photoshop.
Step 2
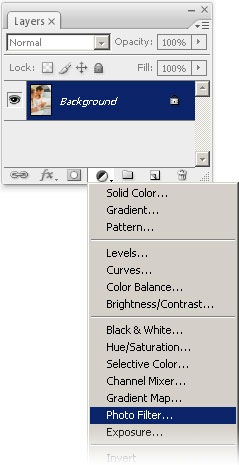
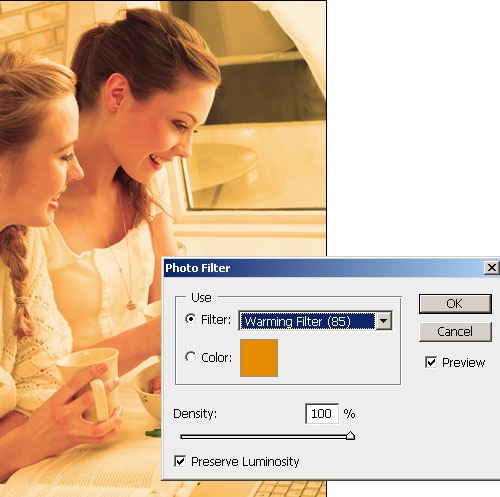
To create this photo effect, we'll be using two Photo Filter adjustment layers. One will alter the color in the shadows and the other in the highlights. First, we'll start off by creating a Photo Filter adjustment layer that will affect the highlights of the image. In the Layers palette, click on the New Adjustment Layer button then choose Photo Filter.
Step 3
In the Photo Filter settings, use the same settings as the image below.
Step 4
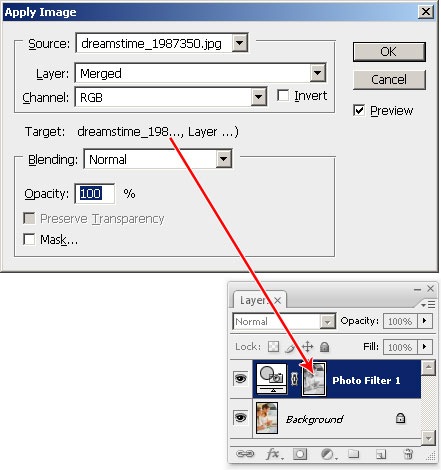
Make sure that you have the Photo Filter adjustment layer selected then choose Image > Apply Image. We will use the Apply Image tool to copy the image into the layer mask. This technique makes the layer only visible in the highlights and produces better results than altering the Blend If options in the layer style settings.
Step 5
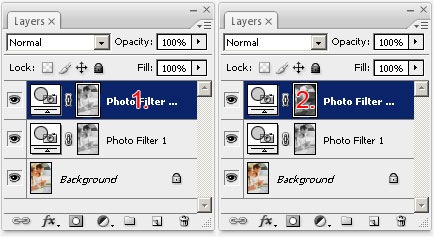
We're done creating the first Photo Filter layer for the highlights. Now we'll create one for the shadows. To do this, select the Photo Filter adjustment layer and press Ctrl+J to duplicate the layer. Then, select the new layer (should be the top layer), and choose Image > Adjustments > Invert to invert the layer mask. Inverting the layer mask will make this layer affect only the shadows.
Step 6
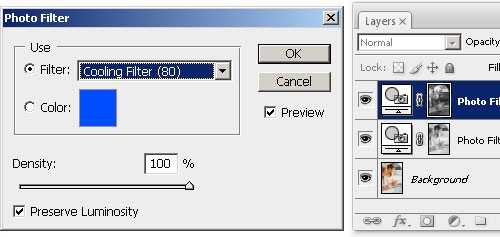
Double click on the top Photo Filter adjustment layer icon to edit the settings. Change the filter to Cooling Filter (80). This will give the shadows a blue tint.

Step 7
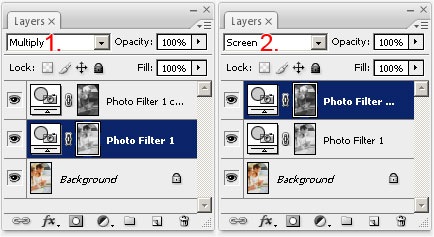
Change the blending mode of the middle layer to Multiply and the top layer to Screen.
Final Results

Other Examples
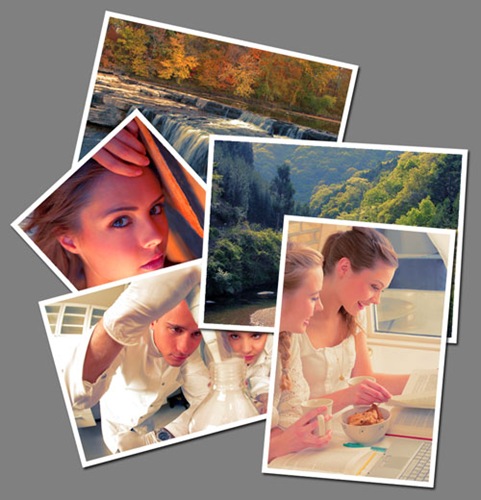
If you would like to know how to create the photo collage like the image below, please read the Glossy Photos Photoshop tutorial.
source: photoshoptutorials.ws
0 comments:
Post a Comment