[postlink]http://testlifepsd.blogspot.com/2010/03/flickr-box.html[/postlink]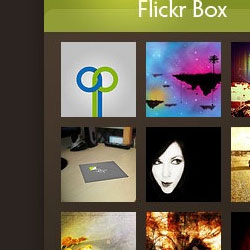 Learn how to use the tools in Photoshop to draw a Flickr thumbnail box.

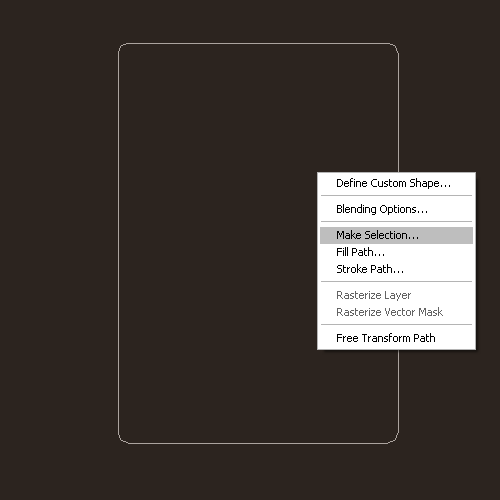
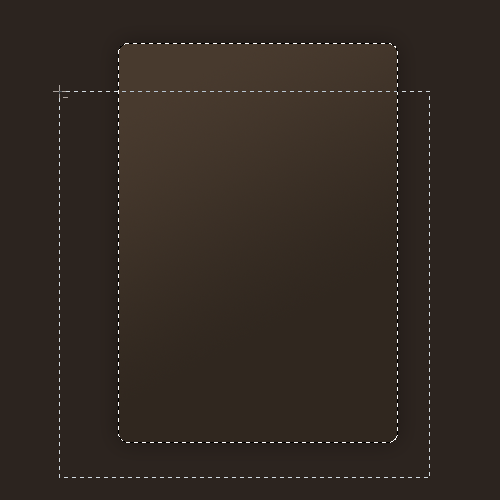
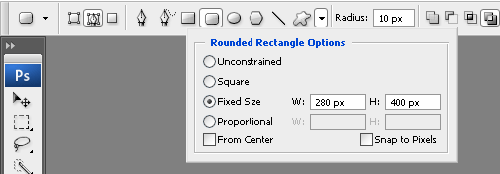 Now click somewhere in the document around the middle so you have a outline of a rounded box. Now right click and go Make Selection.
 Set your foreground colour to #483A2E and your background colour to #30271F. Now select the gradient tool and set it to linear gradient (and make sure that it is going from the foreground colour to the background colour). Left click somewhere in the top left and drag to the bottom right of the selection and release.
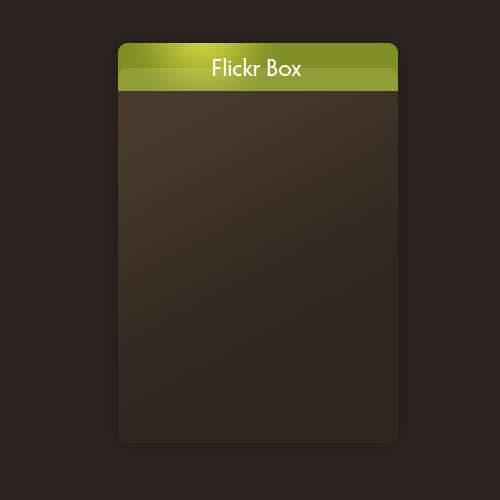
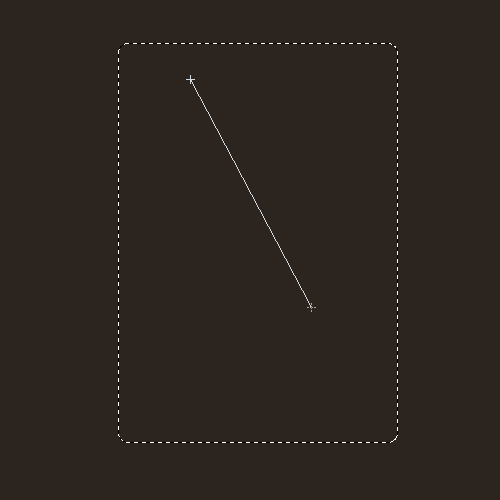 Now it should be looking something like this.

 This is how your box should be looking now:

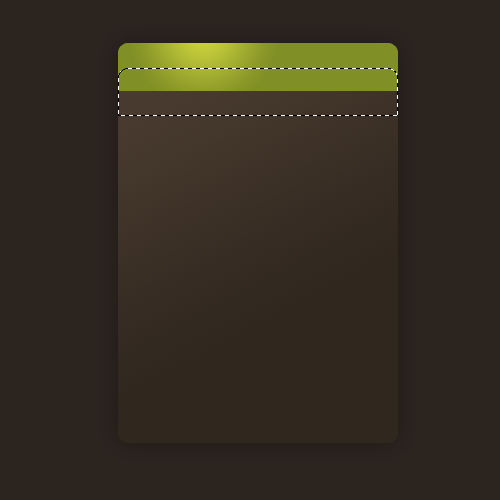
 Set your foreground colour to #d0d63e and your background colour to #819026. Select the gradient tool (this time set it to radial gradient) and left click near the top left and drag to about the middle of the selection and release.

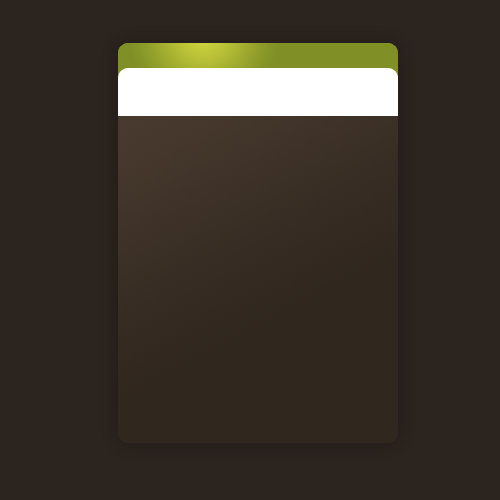
 Now go Edit > Fill and fill the selection with the colour white (the hex number is #ffffff). You can deselect (Ctrl + D) now because you don't need that selection anymore.
 Select the area of the green header like you did before and invert the selection (this will select everything except the header - the shortcut is Ctrl + Shift + I).
 Hit delete on your keyboard and you should be left with something like this.
 Now set the blend mode of the white layer to Soft Light and the opacity level to 30%.

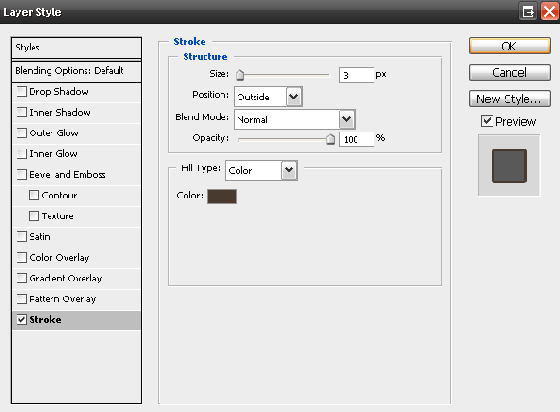
 Now we are going to be applying a stroke to the Flickr images. So go Layer > Layer Styles > Stroke and enter the settings below (the colour is #483a2e).
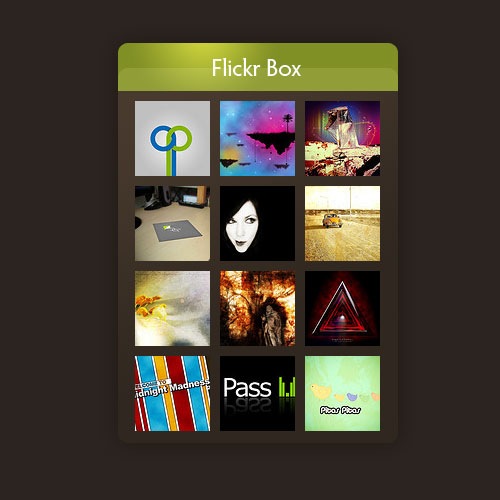
 Your completed box should look something like this
 Learn how to use the tools in Photoshop to draw a Flickr thumbnail box.
 Step 1: Create a new document
First of all create a new document 500 by 500 pixels. Now we are going to be filling the background with a dark brown colour, to do this go Edit > Fill and use Color with the colour number #2C241f.
Step 2: Draw the box
Secondly, we are going to be creating the actual box that we are going to be sticking everything into. So create a new layer by going Layer > New > Layer (or Ctrl + Shift + Alt + N for the shortcut). Select the rounded rectangle tool and set the following settings.


Step 3: Draw the header
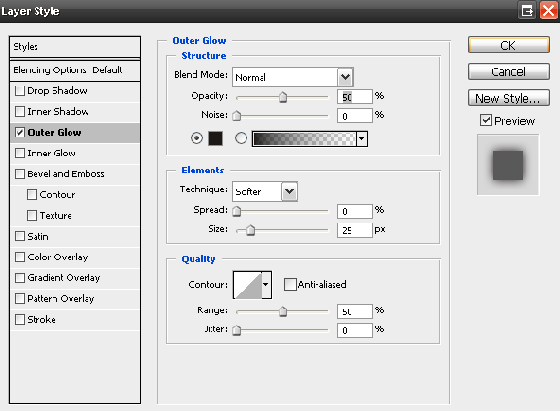
Next up we are going to be applying an outer glow to our box. To do this we are going to be going Layer > Layer Styles > Outer Glow and fill in the settings below (the colour is #1e1815).

Step 4
Thirdly we are going to be creating a header for the box. So select the area of your box (Ctrl + Click the layer in the layers window). Select the rectangular marquee tool and while holding down the Alt key drag across from the bottom right up to the top left (leaving 30-40 pixels at the top) - this will deselect most of the selection so we are just left with the header part.

Step 5: Add a reflection
Using the move tool move the selection down about 20-30 pixels so that the top of it is in the middle of the header (hold down shift so that it does not go sideways when you are moving the selection).


Step 6: Add a title
Using the text tool add in some text for the header of the box.
Step 7: Add the thumbnails
Lastly we are going to be adding in some Flickr images to show you what it would look like. So get some Flickr images (I've got some 75 by 75 pixel ones) and stick them with 10 pixel spaces between each other.


source: photoshoptutorials.ws
0 comments:
Post a Comment