[postlink]http://testlifepsd.blogspot.com/2010/03/silhouettes-and-gradients.html[/postlink]Sometimes a print or online project needs an outline-type silhouette instead of an actual photo, in order to illustrate a project. By using the Threshold tool and the Gradient tool, we can make a few unique effects to complement a print of online design.


CSA-2006-10-31-094952




Now we can use this technique to create illustration-like outlines and silhouettes for print and online designs.
Preview of Final Results

Silhouettes and Gradients Photoshop Tutorial
Step 1
Open up an image that has a clearly-defined outline that differentiates elements within the photo. Download one of these two support files to follow along with these examples, which are in the public domain.
Support Files
CSA-2006-10-10-112726CSA-2006-10-31-094952
Step 2
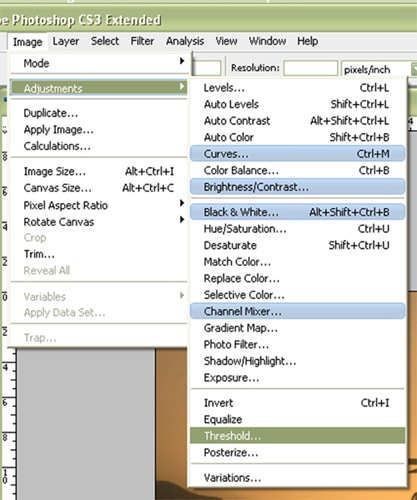
Go to Image>Adjustments>Threshold.
Step 3
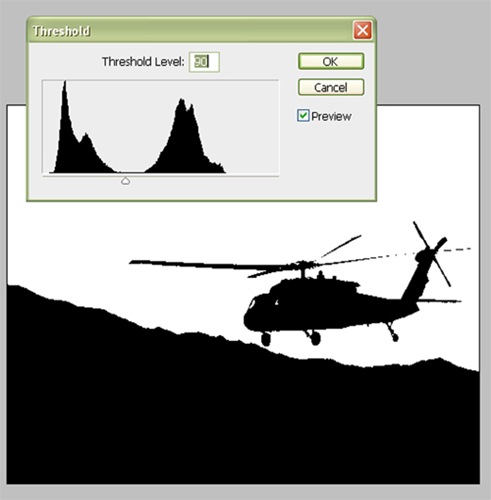
Drag the arrow so that the subjects in the photo and other areas we want to be visible are black. For the helicopter photo, place the arrow between the two areas of pixels. For this example, I set it to 90. Press OK.
Step 4
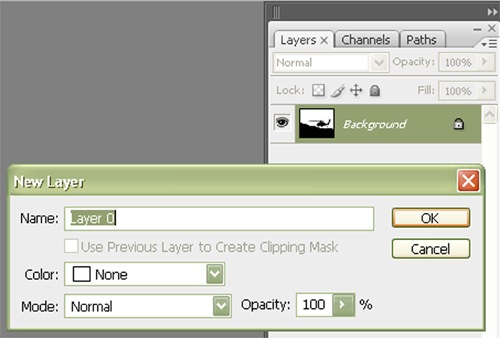
We need to make the Background layer a normal layer in order to remove the white pixels. Double-click the Background layer and click OK to name it its default name, Layer 0.
Step 5
There are many ways to select the white pixels, but let’s just use the simple Magic Wand tool.
Step 6
Set the Tolerance to 0 and make sure Contiguous is unchecked. This will ensure that the white pixels that are not adjacent to, or contiguous to, the white area of pixels that we click will still be selected.Step 7
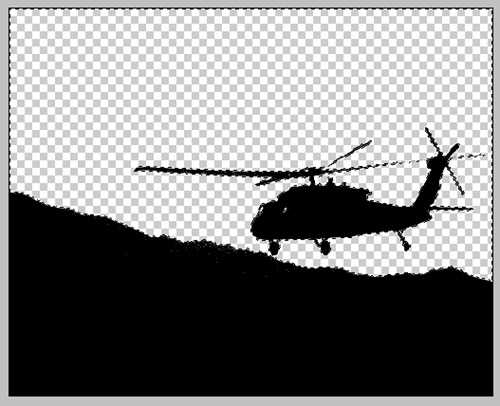
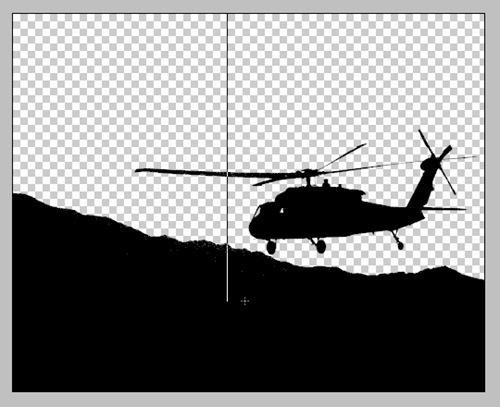
Click somewhere in the white pixels and press Backspace to delete them
Step 8
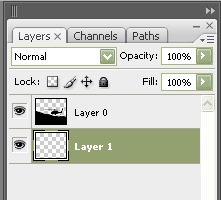
Next, click on the New Layer icon on the bottom of the Layers palette to create a new layer. Click-and-drag this layer so it’s below Layer 0.
Step 9
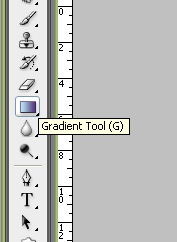
With the Marquee Selection tool, click somewhere on the image to de-select the pixels, if they are still selected. Select the Gradient tool.
Step 10
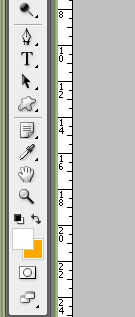
With Layer 1 selected in the Layers palette, and the Gradient tool selected, double-click on the Foreground Color selector near the bottom of the toolbar. Set it to White. Double-click the Background Color selector and set it to an orange hue. I set mine to #ffa800. This sets the color of each side of the gradient.
Step 11
Click-and-drag from the top of the image to about a fourth from the bottom. Press Shift to maintain a straight vertical line.
Step 12
It should look something like this.
Step 13
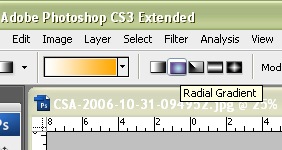
For another example, repeat steps 1-11 but with the photo of the soldiers. But before going to step 11, set the gradient type to Radial.
Step 14
Switch the orange and white by clicking double-sided arrow near the bottom of the toolbar. Click-and-drag from behind the second soldier to simulate an area of sunshine. Crop out the extra black pixels we don’t need.
Now we can use this technique to create illustration-like outlines and silhouettes for print and online designs.
source: photoshoptutorials.ws
0 comments:
Post a Comment