[postlink]http://testlifepsd.blogspot.com/2010/02/rusted-metal-art.html[/postlink]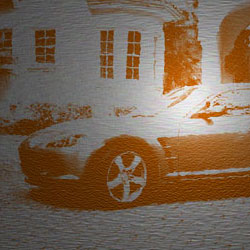 In this Photoshop tutorial, you will learn how to transform a photo into rusted metal art. Following this tutorial will also help you understand several Photoshop filters by teaching you how to create a rust and metal textures using a combination of those filters.


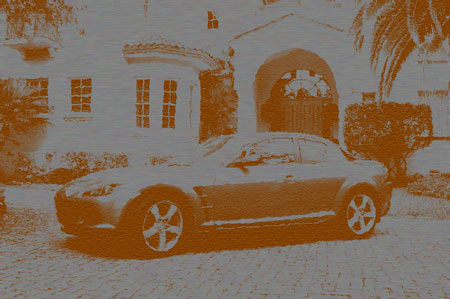
 When you are done, you should have an artistic rusted metal image. It may look flat, but we'll add some depth to it in the next steps.

In this Photoshop tutorial, you will learn how to transform a photo into rusted metal art. Following this tutorial will also help you understand several Photoshop filters by teaching you how to create a rust and metal textures using a combination of those filters. Before and After
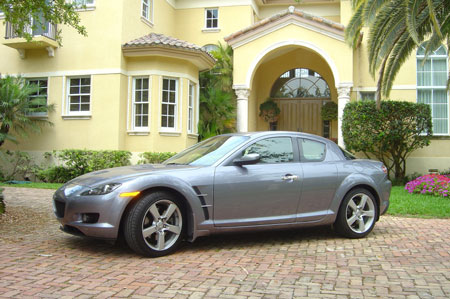
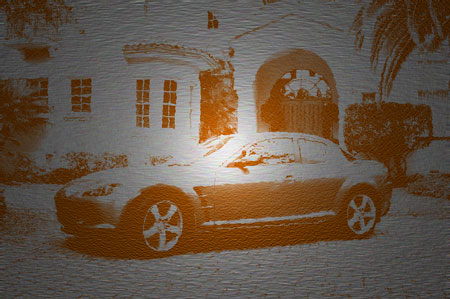
Original Image
Rusted Metal Photoshop Tutorial
The Process with Photoshop
To create this rusted metal art with Photoshop, we first have to create a metal and rust texture. This can be done by combining several filters. Then, using the photo as a layer mask, the rust texture is masked out. Finally, a lighting effect is added to each texture to remove the flat look.Rusted Metal Photoshop Tutorial
Step 1
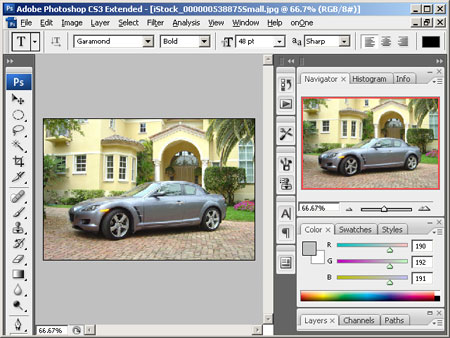
Open a photo into Photoshop. This is the image that will be used for this tutorial:Step 2
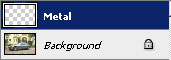
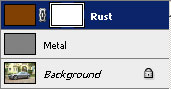
First, we'll create the metal texture. Start by creating a new layer (Layer> New> Layer) and name this layer "Metal".Step 3
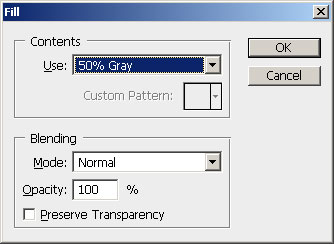
To create the metal texture, we'll fill the layer with the base color: 50% gray. To do this, use the Fill tool (Edit> Fill or Ctrl+F5). Select 50% Gray from the drop down menu and click OK.Step 4
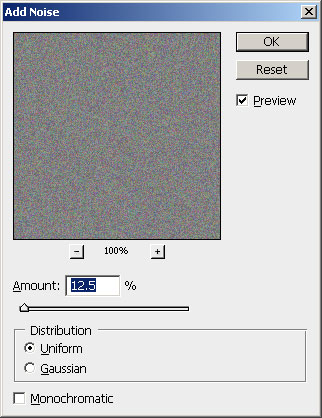
Then, use the Add Noise filter (Filter> Noise> Add Noise). Adjust the amount to increase or decrease the amount of noise added. The more noise you add, the more texture there will be in the metal texture. We recommend using 12.5% to start.Step 5
Open the Filter> Blur menu and select Motion Blur. In the Motion Blur window, adjust the angle and the distance to achieve your desired result for the metal texture. The angle setting will change the angle of the grain and the distance setting will change the length of the grain.Step 6
We're done creating the metal texture. Now we'll create a rust texture. Create a new layer (Layer> New> Layer) and name this new layer "Rust".Step 7
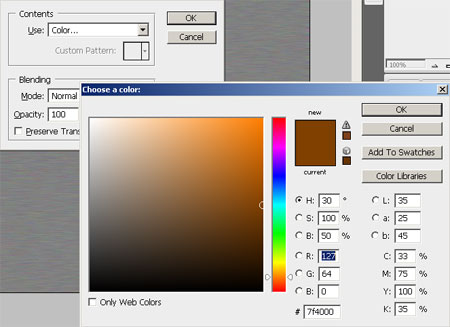
Open the Fill tool (Edit> Fill or Ctrl+F5). Select "Color" from the drop down menu and choose an dark orange color. I used the color #7f4000 but you can use any color that you wish. This color will appear as the rust color. When done, click OK and OK again.Step 8
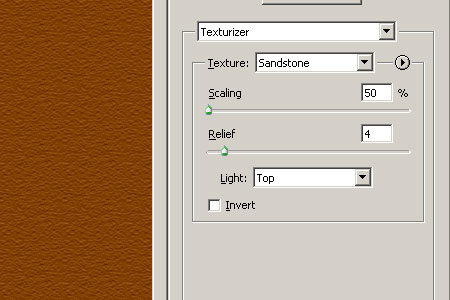
Now we'll add a sandy texture to the layer. To do this, open the Filter> Texture menu and select Texturizer. In the texturizer window, adjust the setting to achieve the look of rust that you like.Step 9
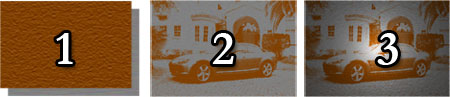
Now we have a rust and metal texture. The next step is to mask out portions of the rust. Begin by adding a layer mask (Layer> Add Layer Mask> Reveal All) to the "Rust" layer.Step 10
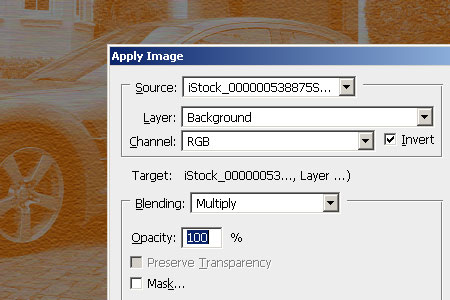
Open the Image menu and select Apply Image. The Apply Image tool will let us tell Photoshop to copy the background layer into a layer mask In the Apply Image window, select Background as the layer and checkmark the Invert setting. Click OK when done.Step 11
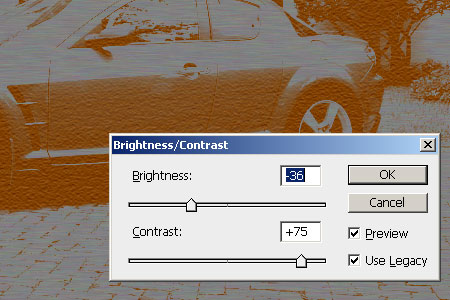
Now you should see the photo you started out with as a rusted metal image. The results are too perfect to look like something hand made so we'll need to distort the layer mask to make it look more natural. First, we'll increase the contrast using the Brightness/Contrast tool (Image> Adjustments> Brightness/Contrast). In the Brightness/Contrast tool, adjust the settings to achieve a look that you like. It may be helpful to use the legacy Brightness/Contrast tool instead by checking the "Use Legacy" option.Step 12
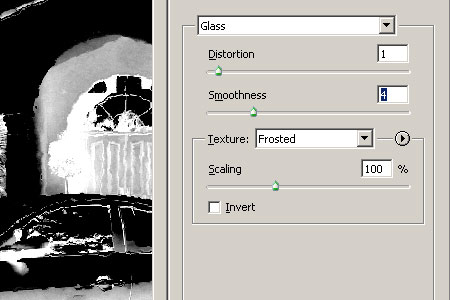
Now we'll distort the layer mask slightly so that the lines are a little more wobbly. For this, we'll use the Glass filter that can be found in the Filter> Distort menu. Open the Glass filter tool and adjust the settings to create a slight distortion.Step 13
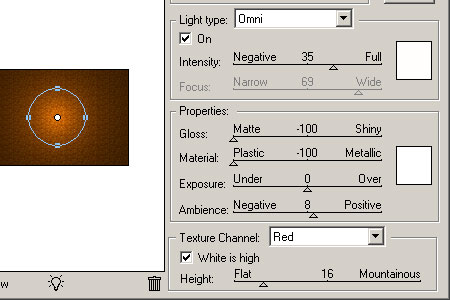
To add depth to the flat image, we'll be using Photoshop's lighting filter. First, select to activate the rust layer (not it's layer mask). Open the Filter> Render layer and select Lighting. Play around with the Lighting tool to create the lighting effect that you would like but there are a few settings that needs to be set according to these instructions. First, set the gloss and material to -100. Depending on which lighting effect, these property settings may or maynot produce a significant result. But there is one setting that will create a strong effect. This is the Texture Channel setting. Select Red as the texture channel and adjust the height. The lighting tool isn't able to show a full preview, so you will have to experiment with this a few times. Start off with a height at 25 and click OK. If it doesn't give you the results you like, press Ctrl+Z to undo and open the Lighting filter again (Filter> Render> Lighting). The lighting tool should remember your setting so you can simply adjust the height of the texture channel.Step 14
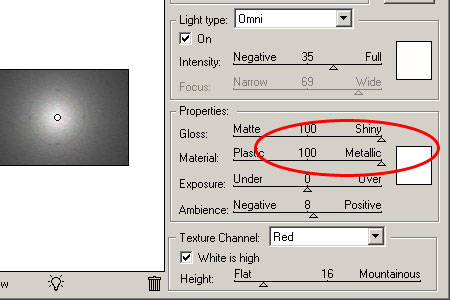
When you are done, select the "Metal" layer and apply the lighting filter again (Filter> Render> Lighting). But this time, set the Gloss and Material setting to +100.Final Results of Rusted Metal Photoshop Tutorial
Original Image
Rusted Metal Photoshop Tutorial
source: photoshoptutorials.ws
0 comments:
Post a Comment