[postlink]http://testlifepsd.blogspot.com/2010/02/soft-photo-effects.html[/postlink] Find out how one Photoshop CS3's smart filter can create a variety of soft photo effects. This easy beginner tutorial will teach you how apply many artistic photo effects to your photo using just one smart filter.


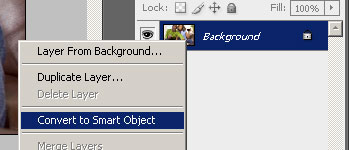
 Step 2 Before we start, we need to convert the layer into a Smart Object. Right mouse click on the layer and select "Convert to Smart Object". Now that we have a smart object, we can perform nondestructive filtering to the image (We'll talk more about this later).
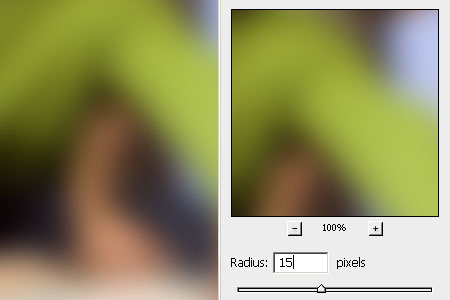
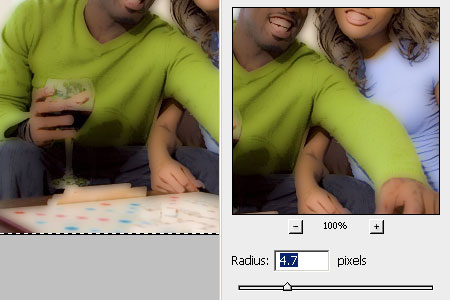
 Step 3 Now we'll add a blur to the layer. Open the Filter> Blur menu and select Gaussian Blur. Adjust the radius so that the image has a noticeable blur. Don't worry about the setting too much here, we can readjust the setting later.
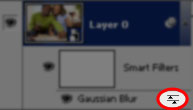
 Step 4 This is the fun part where all the effects appear. Under the smart layer, there should be a Gaussian Blur smart filter. Double click on the
  button. A Blending Option window should appear. In the blending options, play around with the different modes and opacity to get a variety of effects.
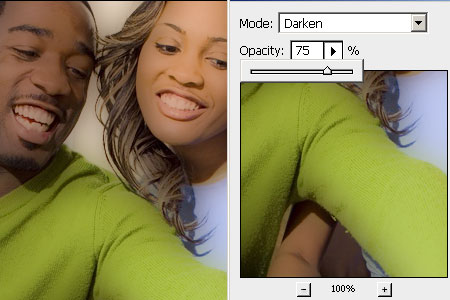 Step 5 Because we used Photoshop CS3's smart filters, we can adjust the settings of the filter without having to start over from the beginning. Simply double click on the text Gaussian Blur and the Gaussian Blur filter will appear. Here, you can readjust the setting with the blending mode you've applied previously. And, because we used smart filters, the file size is smaller and, after saving as a Photoshop Document, you can always open the file again to modify the effect without starting all over again.


Darken
Screen
Overlay
Soft Light
Vivid Light
Hard Mix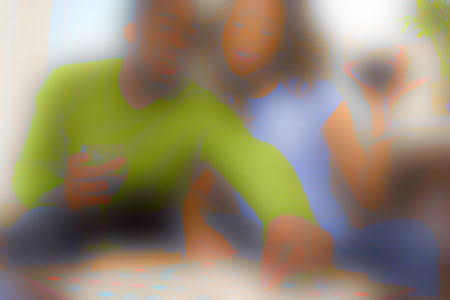
Luminosity
 Find out how one Photoshop CS3's smart filter can create a variety of soft photo effects. This easy beginner tutorial will teach you how apply many artistic photo effects to your photo using just one smart filter.
 Before and After Soft Photo Effects
Original Image

Soft Photo Effects

The Process with Photoshop
First, the layer is converted to a Smart Layer. Then, we apply a gaussian blur filter and change the blending mode of the filter. Finally, the blur setting is readjusted.
Soft Effects Photoshop Tutorial
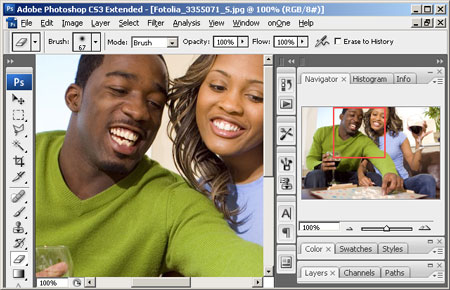
Step 1 Open a photo into Photoshop. This is the image that will be used for this tutorial:


Final Results
Original Photo

Photoshop CS3 Photo Effects

Darken

Screen

Overlay

Soft Light

Vivid Light

Hard Mix

Luminosity
source: photoshoptutorials.ws
0 comments:
Post a Comment