[postlink]http://testlifepsd.blogspot.com/2010/01/adaptive-saturation.html[/postlink]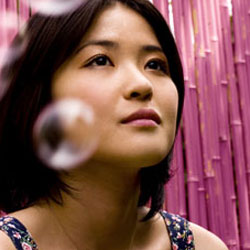 A better way of adjusting saturation. This technique adjusts saturation according to the level of saturation in the image.
Layer: Merged
Channel: RGB
Invert: Unchecked
Blending: Multiply
Opacity: 100%


A better way of adjusting saturation. This technique adjusts saturation according to the level of saturation in the image. Identifying the Saturation
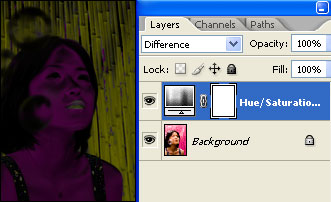
First, we need to find the areas that are saturated. To do this, we just simply create a layer with no saturation and change the blending mode to Difference.Step 1
Open a photo you would like to edit. Or, you may use the photo used in this tutorial (from iStockPhoto). Step 2
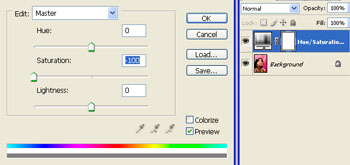
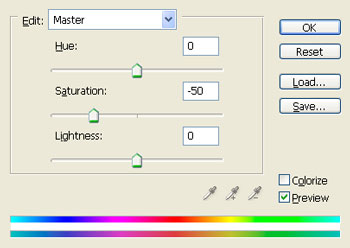
Create a new Hue/Saturation adjustment layer (Layer> New Adjustment Layer> Hue/Saturation). When the Hue/Saturation tool appears, reduce the saturation to -100. Click OK when done. Step 3
Change the blending mode of the adjustment layer to Difference. Using the Saturation Data
Now that we have an image that shows the differenceStep 4
Make sure the layer mask is activated. The thumbnail of the layer mask in the layers window should have a white border around it. If it doesn't, click on the thumbnail to activate the layer mask.Step 5
With the layer mask selected, open the Apply Image tool (Image> Apply Image). The default settings should be fine so you may simply click OK if the settings are default:Layer: Merged
Channel: RGB
Invert: Unchecked
Blending: Multiply
Opacity: 100%
Step 6
Change the blending mode of the adjustment layer back to Normal. Adjusting Saturation
Finally, we're able to adjust the saturation of the image. There are a few steps you should follow:Step 7
To increase the contrast, use the Levels tool (Image> Adjustment> Levels or Ctrl+L) or apply an Auto Levels (Image> Adjustments> Auto Levels or Shift+Ctrl+L). Step 8
Double click on the adjustment layer thumbnail to bring up the Hue/Saturation tool then adjust the saturation. Step 9
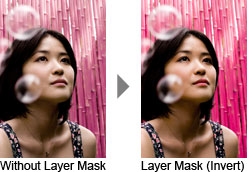
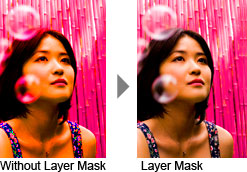
If you increased the saturation, select the layer mask of the adjustment layer and Invert (Image> Adjustment> Invert or Ctrl+I). This will make the saturation adjustment visible on the low-saturation areas of the image so that the already saturated areas are left alone.Step 10
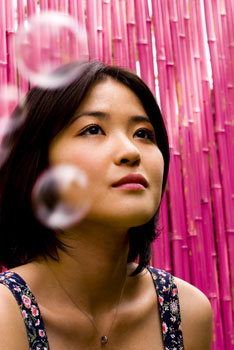
To achieve the opposite effect, invert the layer mask (again if you've already done it). For example, if you increased saturation and inverted the layer mask, invert the layer mask again to have the saturation adjustments visible on the saturated areas of the image. This will make the vivid areas even more saturated while leaving the dull colors alone.Final Results
Rollover the image below to see the before and after effect. source: photoshoptutorials.ws
0 comments:
Post a Comment