[postlink]http://testlifepsd.blogspot.com/2010/01/digital-display.html[/postlink]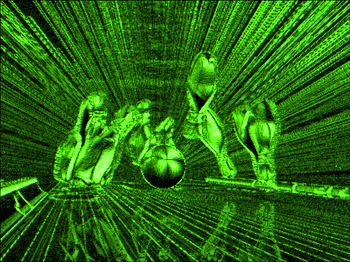 Turn an image into a high-tech digital art. From a distance, it will look like a LED display image but viewing up close will reveal the tiny details. Note: Make sure that the image is in RGB color mode. To switch to RGB color mode, click on RGB Color under the Image> Mode menu.

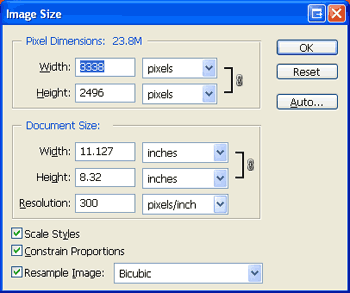
Tip: Ensure that the "Resample Image" checkbox is checked to allow scaling the actual pixel dimensions.
Tolerance: 8
Anti-Alias: Checked
Contiguous: Checked
Colorize: Checked
Hue: 100
Saturation: 100
Tip: This step is optional and may be skipped if you do not want to colorize the image.


Turn an image into a high-tech digital art. From a distance, it will look like a LED display image but viewing up close will reveal the tiny details. Note: Make sure that the image is in RGB color mode. To switch to RGB color mode, click on RGB Color under the Image> Mode menu. Prepare the Image
Step 1
Open an image you would like to edit. Or, you may use the image used in this tutorial (from iStockPhoto). Using a low-resolution image is fine.Step 2
If you're using a low resolution image, use the Image Size tool to increase the dimensions. We recommend at least 2000 pixels wide and tall for better clarity in the final result.Tip: Ensure that the "Resample Image" checkbox is checked to allow scaling the actual pixel dimensions.
Convert Image into a Grid of Circles
Step 3
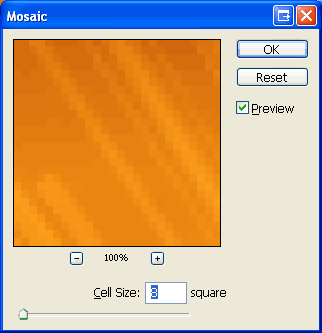
Add a Mosaic filter (Filter> Pixelate> Mosaic) with a cell size of 8 square.Step 4
Apply a Find Edges filter (Filter> Stylize> Find Edges)Step 5
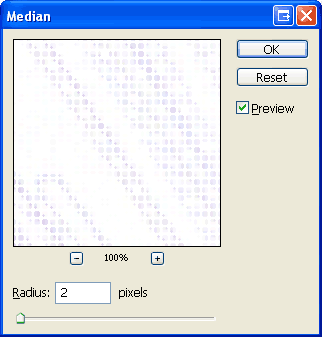
To warp the edges into circles, we'll use the Median filter. Apply a Median filter (Filter> Noise> Median) with radius of 2 pixels.Step 6
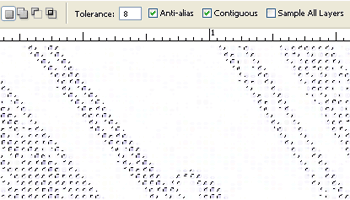
Select the Magic Wand tool (W) and apply these settings:Tolerance: 8
Anti-Alias: Checked
Contiguous: Checked
Step 7
Use the Magic Wand tool to click on a white area. Inverse the selection (Select> Inverse or Shift+Ctrl+I)Step 8
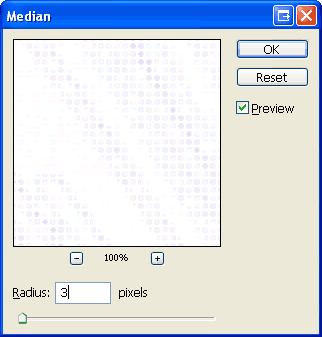
Apply another Median filter (Filter> Noise> Median) but with a Radius of 3 pixels.Step 9
Deselect (Select> Deselect or Ctrl+D) and apply an Auto Levels (Image> Adjustments> Auto Levels or Shift+Ctrl+L)Step 10
Invert the current layer (Image> Adjustments> Invert or Ctrl+I)Step 11
Duplicate the current layer (Layer> Duplicate Layer or Ctrl+J), change the blending mode of the new layer to Overlay, then Merge the layers (Layer> Merge Layers or Ctrl+E).Create Outlines
Step 12
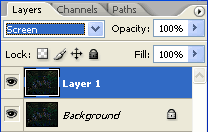
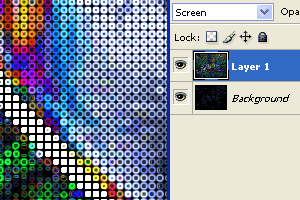
Duplicate the background current layer (Layer> Duplicate Layer) and change the blending mode of the new layer to Screen.Step 13
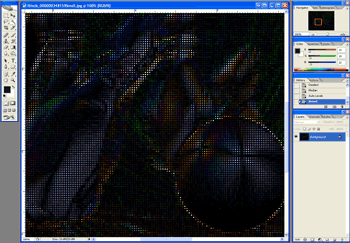
Apply a Find Edges filter (Filter> Stylize> Find Edges).Step 14
Invert the current layer (Image> Adjustments> Invert or Ctrl+I).Colorize
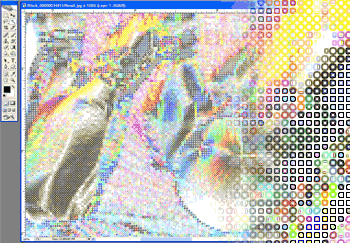
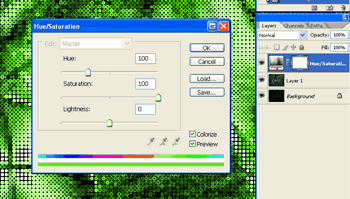
Step 15
Add a new Hue/Saturation adjustment layer (Layer> New Adjustment Layer> Hue/Saturation). For this step, I will use these settings:Colorize: Checked
Hue: 100
Saturation: 100
Tip: This step is optional and may be skipped if you do not want to colorize the image.
Final Results
Multicolor version
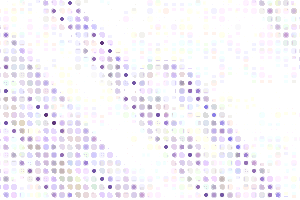
Rollover the image below to see the before and after effect.100% crop
Colorized Version
Rollover the image below to see the before and after effect.source: photoshoptutorials.ws
0 comments:
Post a Comment