[postlink]http://testlifepsd.blogspot.com/2010/01/medical-imaging-with-dicom-files.html[/postlink]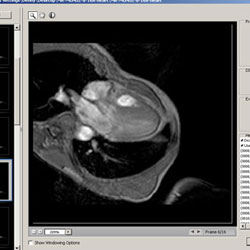 DICOM is the industry standard format for medical scans. Learn how DICOM files are used with Adobe Photoshop CS3 Extended to create animations and measurements.
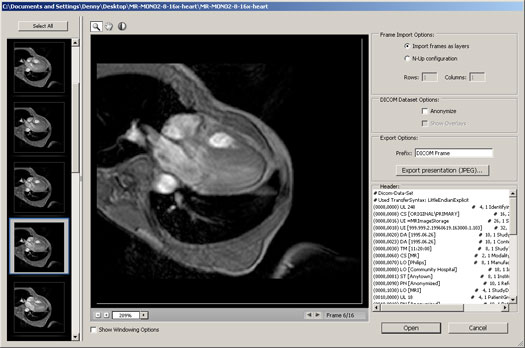
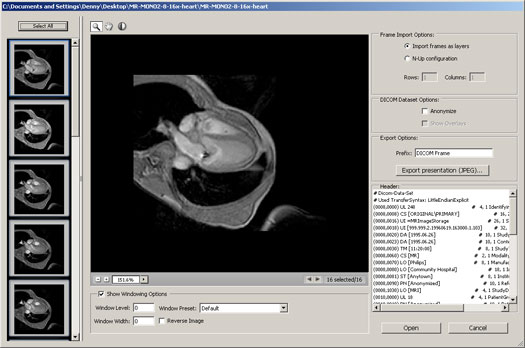
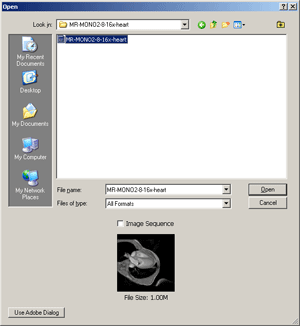 Once you click Open, a window will appear with settings you can modify.
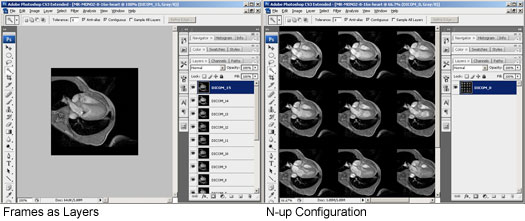

N-up Configuration
This option will tile the frames onto one layer. Select this option if you would like to print the frames onto transparencies.

 DICOM is the industry standard format for medical scans. Learn how DICOM files are used with Adobe Photoshop CS3 Extended to create animations and measurements.
 Opening DICOM Files
To open DICOM files, open the File menu and choose Open. Browse for the DICOM file and click Open.

Options
Frames
On the left, you can select which frame to view and open. To open a single frame, select the frame and click open. To select more than one, hold the CTRL key and click. To select all the frames, click the Select All button.DICOM Dataset Options
There are two options in this area you can modifyAnonymize
Checking this option will anonymize the file by replacing all patients metadata with "anonymize".Show Overlays
If your file has overlays such as annotations, curves, or text, you can check this box to display those overlays.Windowing
Windowing lets you adjust the brightness and contrast of the image. To view all the Windowing options, check the Show Windowing Options checkbox located below the image.Presets
There are 5 presets you can choose from:- Default
- Lung
- Bone
- Abdomen
- Full
Manual Adjustments
Or, you can manually adjust the settings using your mouse:- Click on the
 button to select the Window Level tool.
 - Click on the middle of the image and drag the tool up or down to adjust the level.
- Drag the tool left or right to adjust the width.
Reverse Image
To reverse the image, simply check the Reverse Image checkbox.Frame Import Options
This area lets you choose how you would like to open the images.

Import frames as layers
This option will import frames into layers. This option is useful for manipulating the image or creating an animation.N-up Configuration
This option will tile the frames onto one layer. Select this option if you would like to print the frames onto transparencies.
Creating an Animation
Step 1
Open a DICOM file. Open the File menu and select Open. Browse for a DICOM file (.dc3, .dcm, .dic, or no extension) and click OK
Step 2
Press the Select All button to select all the frames. In the Frame Import Options, choose Import frames as layers. Apply any other settings needed then click OK.

Step 3
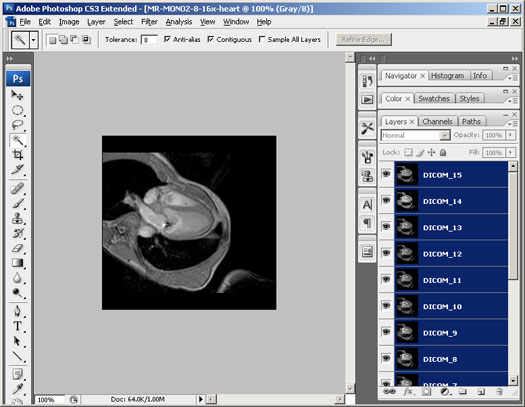
You should now have each frame as layers. Select all the layers by pressing Alt+Ctrl+A or going into the Select menu and choosing All Layers.

Step 4
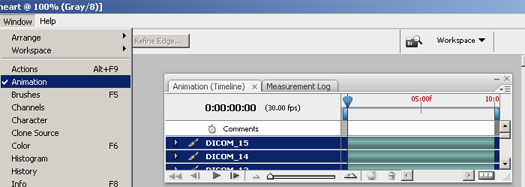
Open the Animation window by going into the Window menu and selecting Animation.

Step 5
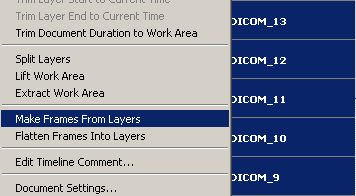
In the Animation pallet, click on the  button located near the top right to open the flyout menu. In the flyout menu, select Make Frames From Layers.

Step 6
If the Animation window is not in Frame view, press the  button to convert the animation into a frame animation. If it's already in frame view, you can skip this step.
 button to convert the animation into a frame animation. If it's already in frame view, you can skip this step.
Step 7
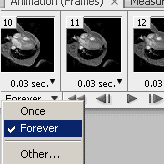
Now we need to set how many times it should loop. Click on the bottom right menu to select how the animation should loop. To have the animation loop forever, select Forever.

Step 8
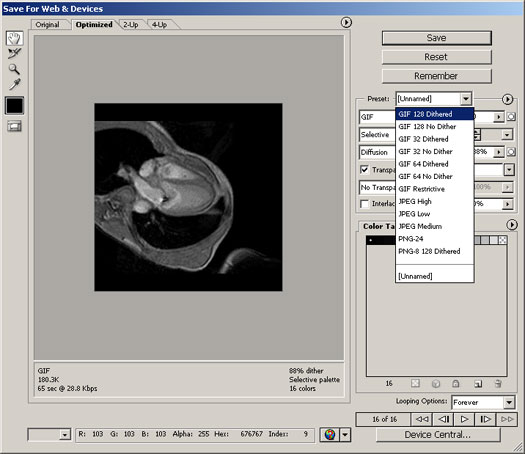
To save the animation as an animated GIF file, use the Save for Web & Devices tool. To open the Save for Web & Devices tool, press Shift+Ctrl+S or open the File menu and select Save for Web & Devices. In the Save for Web & Devices tool, Select a GIF preset and modify the settings if necessary. Click the Save button when you are ready to save.

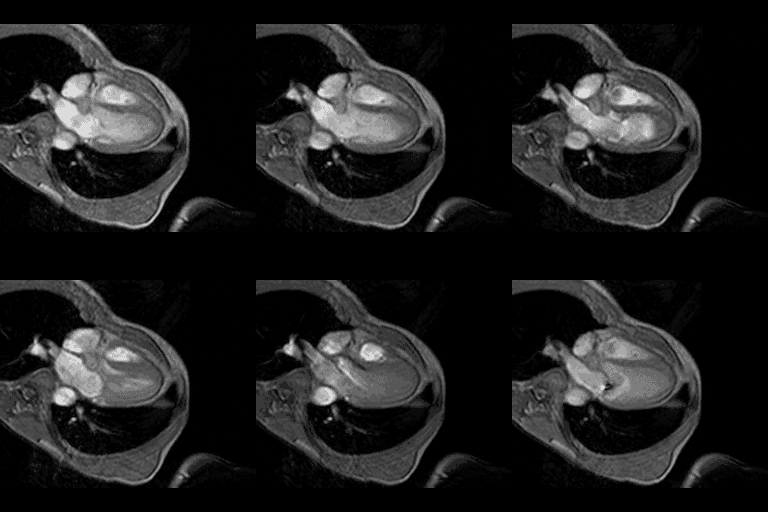
Final Results

source: photoshoptutorials.ws
0 comments:
Post a Comment