[postlink]http://testlifepsd.blogspot.com/2010/01/half-sepia.html[/postlink] Add a modern sepia tone to your photos. In this tutorial, you'll learn how to add a sepia tone specifically to the highlights or shadows of an image.

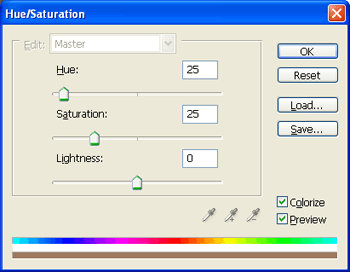
Colorize: Checked
Hue: 25
Saturation: 25
Lightness: 0
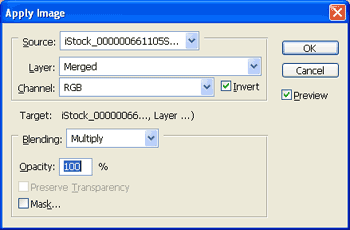
Layer: Merged
Channel: RGB
Blending: Multiply
Opacity: 100%
Don't press OK yet!
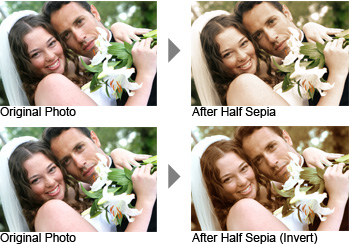 Rollover the images below to see a before and after effect.
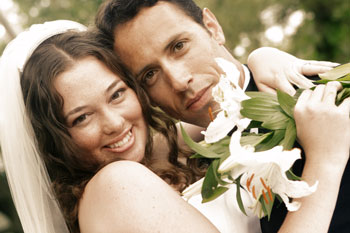

 Add a modern sepia tone to your photos. In this tutorial, you'll learn how to add a sepia tone specifically to the highlights or shadows of an image.
 Step 1
Open a photo you would like to edit. Or, you may use the photo used in this tutorial (from iStockPhoto).
Step 2
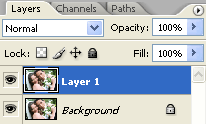
Duplicate the layer (Layer> Duplicate Layer or Ctrl+J). The sepia tone will be applied to the new top layer.
Creating the Sepia Tone
This page will teach you how to add a sepia tone. If you already know how to do this, simply activate the top layer and apply your desired sepia tone effect and skip to the next page. If you would like to learn how to create a basic sepia tone, continue below:Step 3
With the top layer selected, use the Hue/Saturation tool to apply the following properties:Colorize: Checked
Hue: 25
Saturation: 25
Lightness: 0

Step 4
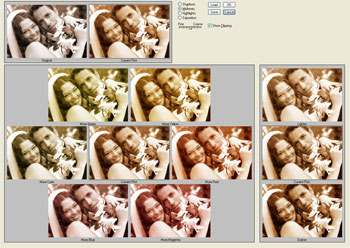
Use the Variations tool (Image> Adjustments> Variations) to customize the sepia tone. Simply click on the thumbnail of the image that's closest to the effect you would like until you've reached your desired sepia tone. If you make a mistake and want to start over, simply hold the Alt key and press the Reset button (The Cancel button should turn into the Reset button).
Filtering the Sepia Tone to the Highlights or Shadows
Filtering the sepia tone so that it's only visible in the highlights or shadows of the image is a very simple process using layer mask.Step 5
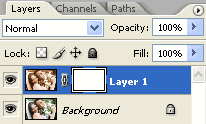
Add a layer mask to the top layer (Layer> Add Layer Mask> Reveal All).
Step 6
Make sure the layer mask is activated. The thumbnail of the layer mask in the layers window should have a white border around it. If it doesn't, click on the thumbnail to activate the layer mask.Step 7
With the layer mask selected, open the Apply Image tool (Image> Apply Image) and apply these settings:Layer: Merged
Channel: RGB
Blending: Multiply
Opacity: 100%
Don't press OK yet!

Step 8
In the Apply Image window, make sure that the Preview checkbox is checked. Move the Apply Image window so that you're able to see the image/document. Check and uncheck the Invert checkbox to find the effect you like more. With the Invert checkbox checked, the sepia tone will be applied to the shadows/black areas of the image instead of the highlights/white areas.Final Results


source: photoshoptutorials.ws
0 comments:
Post a Comment