Materials Needed:
Step 1: Some words about the font
Download the typeface Candice from here.
You’ll also find instructions on how to install the font in case you never did that before.
Feel free to use another font if you like to, but Candice is really a nice fit for our text effect as well as it is completely free.
Adding resources to Photoshop
When adding resources like fonts, patterns, brushes or gradients in the Photoshop presets folder, Photoshop needs to be restarted in order for the newly added content to appear.
Step 2: Creating a new document
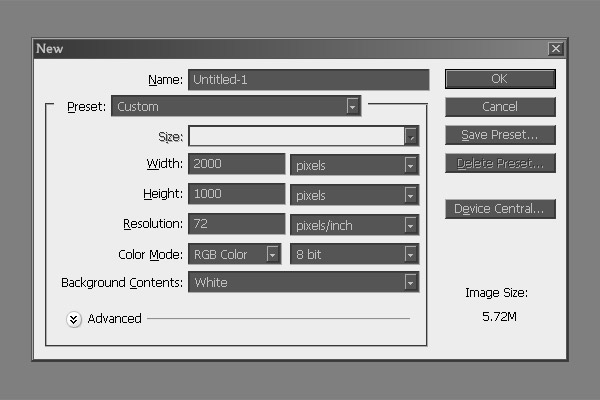
Create a new document in Photoshop. You are free to choose whatever dimensions you see fit, I personally chose 2000 x 1000 pixels for this tutorial. Let the rest of the settings on their default values.
Step 3: Adding a gradient
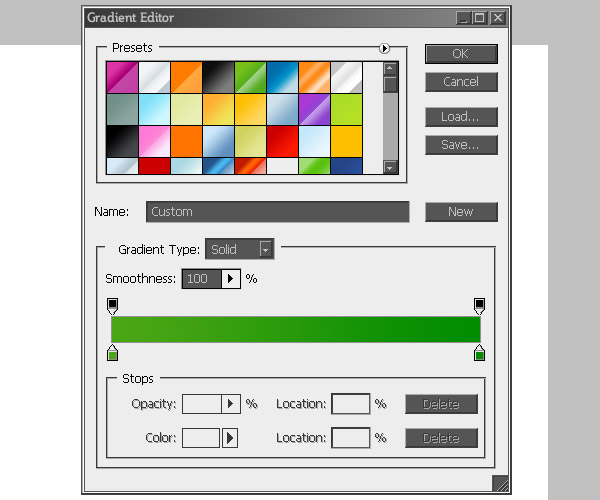
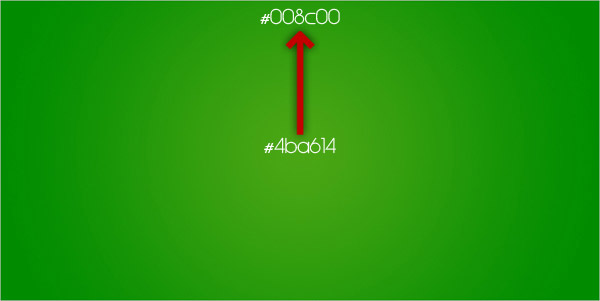
Select the Gradient Tool (shift + g) and set the color settings to #4ba614 and #008c00. Select circular as the gradient style and create the gradient from the center of your image to its top.
Step 4: Adding some text
Now it’s time to use the font you downloaded earlier. Select the Type Tool (t) and choose Candice as a font. Set the font-size to 500 pixels (or a value appropriate to your image dimensions) and type a text of your choice.
Because we’re making a candy-like effect I typed “Candy”.

Step 5: Centering the text
Afterwards select your background and text layer together by clicking on them in the layer palette while holding the ctrl-key (command if you are using an apple). Make sure you have the Move Tool (v) selected. Now you can center your text layer vertically and horizontally by using the align buttons in your options palette, which is by default placed on top of your workspace.
Step 6: Creating a custom pattern
Now we are going to create a custom pattern that we will apply to our text later. You can also skip to Step 11 and directly download the pattern here, but I recommend you to create the pattern on your own because this technique comes in handy in many situations.
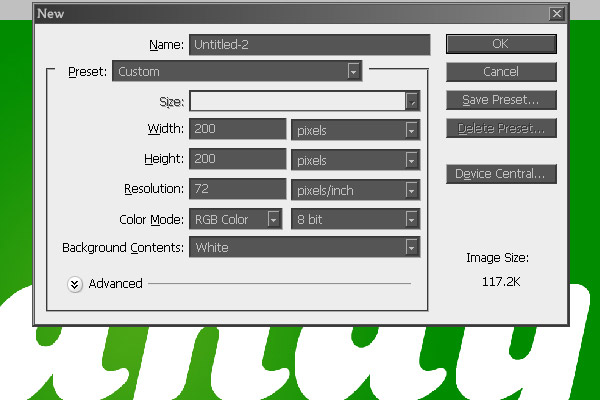
Create a New Document (ctrl/cmd + n) and set the dimensions to 200 x 200 pixels.
Step 7: Adding and rotating a rectangle
Select the Rectangle Tool (u) and create a rectangle with 400 pixel width and 35 pixel height. Transform the rectangle by pressing Ctrl/Cmd + t while it is selected and rotate it 45° while holding the Shift-key down (like this, the rectangle rotates only in 15°-steps). Center the rotated rectangle on the background as we did in Step 5 with our text.

The shift-key in Photoshop
The shift-key is a one-key wonder in Photoshop. Hold it while resizing a layer and the layer grows and shrinks symmetrical, rotate a layer in 15°-steps and draw perfectly straight lines with the Pencil, Brush and Pen Tools. And that’s just the top of the iceberg!
Step 8: Apply a gradient
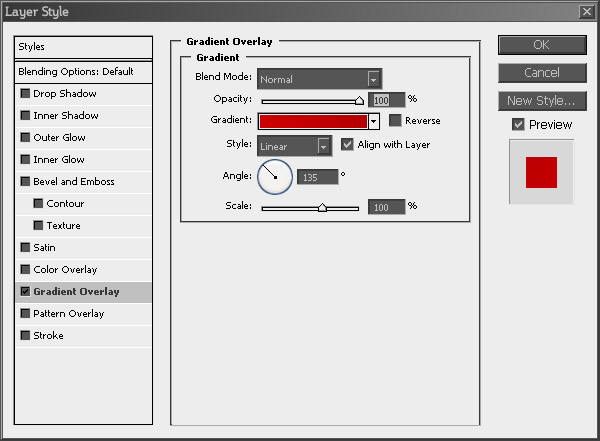
Right-click on the rectangle-layer and select Blending Options. Go to Gradient Overlay and set a gradient with the colors #cc0000 and #b50000. Set the gradient angle to 135°, use linear as style and apply the gradient.
Step 9: Multiply the rectangle
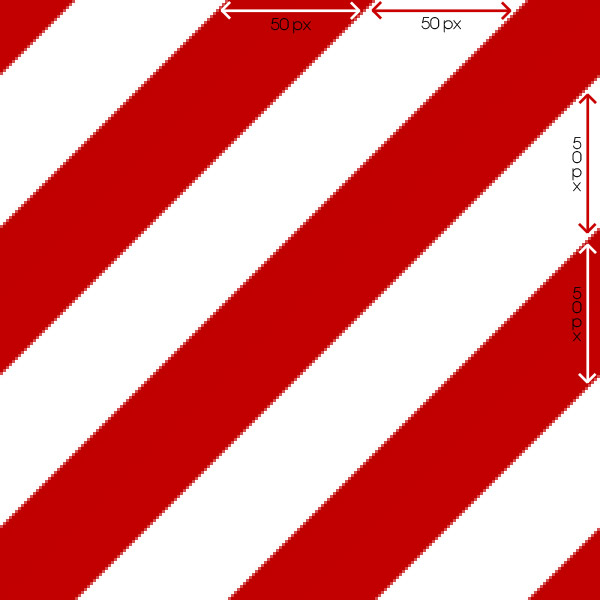
Copy your rectangle layer by pressing Ctrl/Cmd + j. Select the Move Tool (still v) and make sure you have the freshly copied layer selected, hold down the Shift-key and press 5 times left and 5 times up (by holding down the shift-key while moving layers with the arrow-keys you make steps of 10 pixels. That means we moved our layer 50 pixels to the left and 50 pixels up).
Copy the copied rectangle (Shape 1 copy) and repeat the process.
Select the original rectangle again, copy it and press 5 times right and down while holding the shift-key. Copy the newest rectangle and repeat the process.
Now you have 5 rectangles, each with a width of 50 pixels and a margin of 50 pixels to the next rectangle(s).
Step 10: Define the pattern
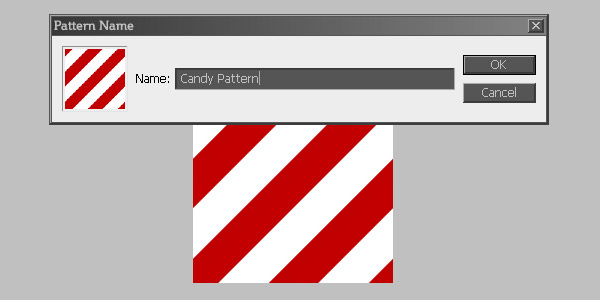
Go to Edit -> Define Pattern… and name the new pattern “Candy pattern”. The pattern will automatically appear in the last pattern-set you used.
Photoshop patterns
Patterns are an amazing and powerful aspect of Photoshop. You can easily create huge backgrounds with only a few kb-big files, an aspect that is especially interesting for web designers.
There are thousands of different patterns free available, but you get the most out of patterns if you learn how to create them yourself. There is a great tutorial on veerle’s blog.
Step 11: Applying blending options to the text
Go back to our original image and right-click on the text-layer. Go to Blending Options and apply the styles displayed in the image below. Use the newly created Candy Pattern as pattern overlay.

Step 12: Almost there
Select the Ellipse Tool (shift + u) and create an ellipse that covers about the upper third of your type. Make sure its color is white.
Rasterize your layer by right-clicking on it and selecting Rasterize.

Step 13: Playing with selections
Ctrl/Cmd-click on your text-layer to create a selection around your text and press Ctrl/Cmd + Shift + i to invert your selection. Make sure your ellipse-layer is selected and press Delete. Only the parts of the ellipse that overlapped with the text are left.

Quick selection abc
The most important keyboard shortcuts when working with selections are:
- Ctrl/Cmd + a = Select everything
- Ctrl/Cmd + i = Invert current selection
- Ctrl/Cmd + d = Deselect everything
- Ctrl/Cmd + left-click on layer = Create selection of layer-content
Step 14: Adding a layer-mask
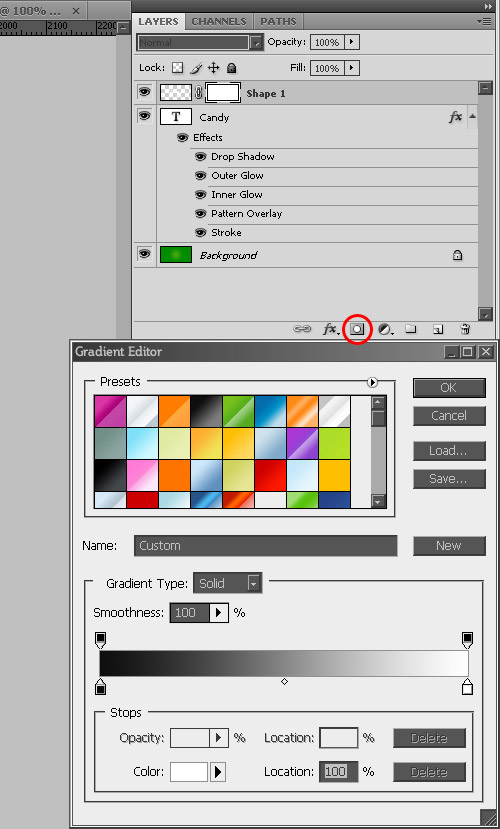
Now create a Layer Mask on the ellipse layer and select the Gradient Tool (shift + g). Set the gradient colors to black (#000000) and white (#ffffff) and the style to linear. Hold down the Shift-key to create a perfectly straight gradient from the highest point of your text to its lowest. Once the gradient is applied to the layer mask you’re done.

The final Result
Congratulations! You just added a candy like effect to a text!

0 comments:
Post a Comment