If you’re new to Photoshop, you may not be familiar with installing new custom shapes or brushes. In this tutorial, I’ll show you the ropes so you can start using them straight away.
Installing Custom Shapes
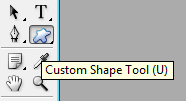
To install a new Custom Shape you’ve downloaded, you’ll have to first select the Custom Shape Tool from the toolbar.

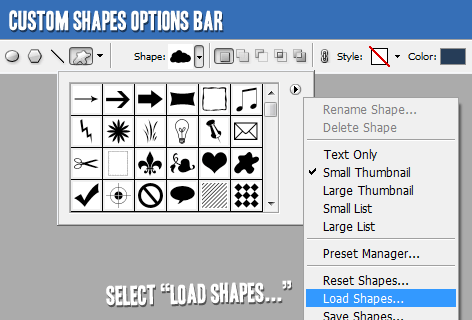
Now, from the Custom Shapes Options Bar, select the Custom Shape Picker dropdown. From here, you’ll be able to pick any of your currently installed custom shapes for use in your documents. However, right now we want to ignore all of these shapes, and instead click the arrow on the right side of the picker. From here, we want to “Load Shapes…“.

Once you click this, a browser will be opened up for you. From the browser, just travel to the directory where you saved your custom shapes too, and load them from there. Your new shapes will be available in the Shape Picker afterwards.
Installing Brushes
Installing brushes takes essentially the same steps as installing custom shapes.
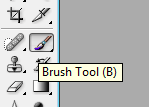
Select the Brush tool from the toolbar.

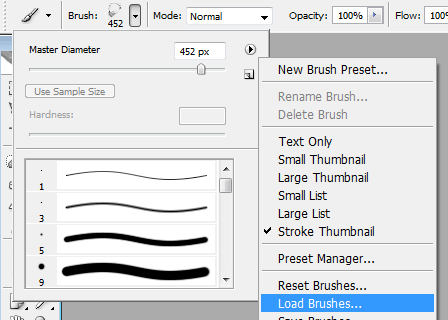
And now from the Options Bar, select the Brush Preset Picker dropdown menu, click the arrow off to the right, and then select Load Brushes…

Again, just browse to the folder where your installed brushes are stored, and load them from there. You’re new brushes will be available in the Brush Preset Picker, as well as the Brushes window.
tutorial9.net
0 comments:
Post a Comment